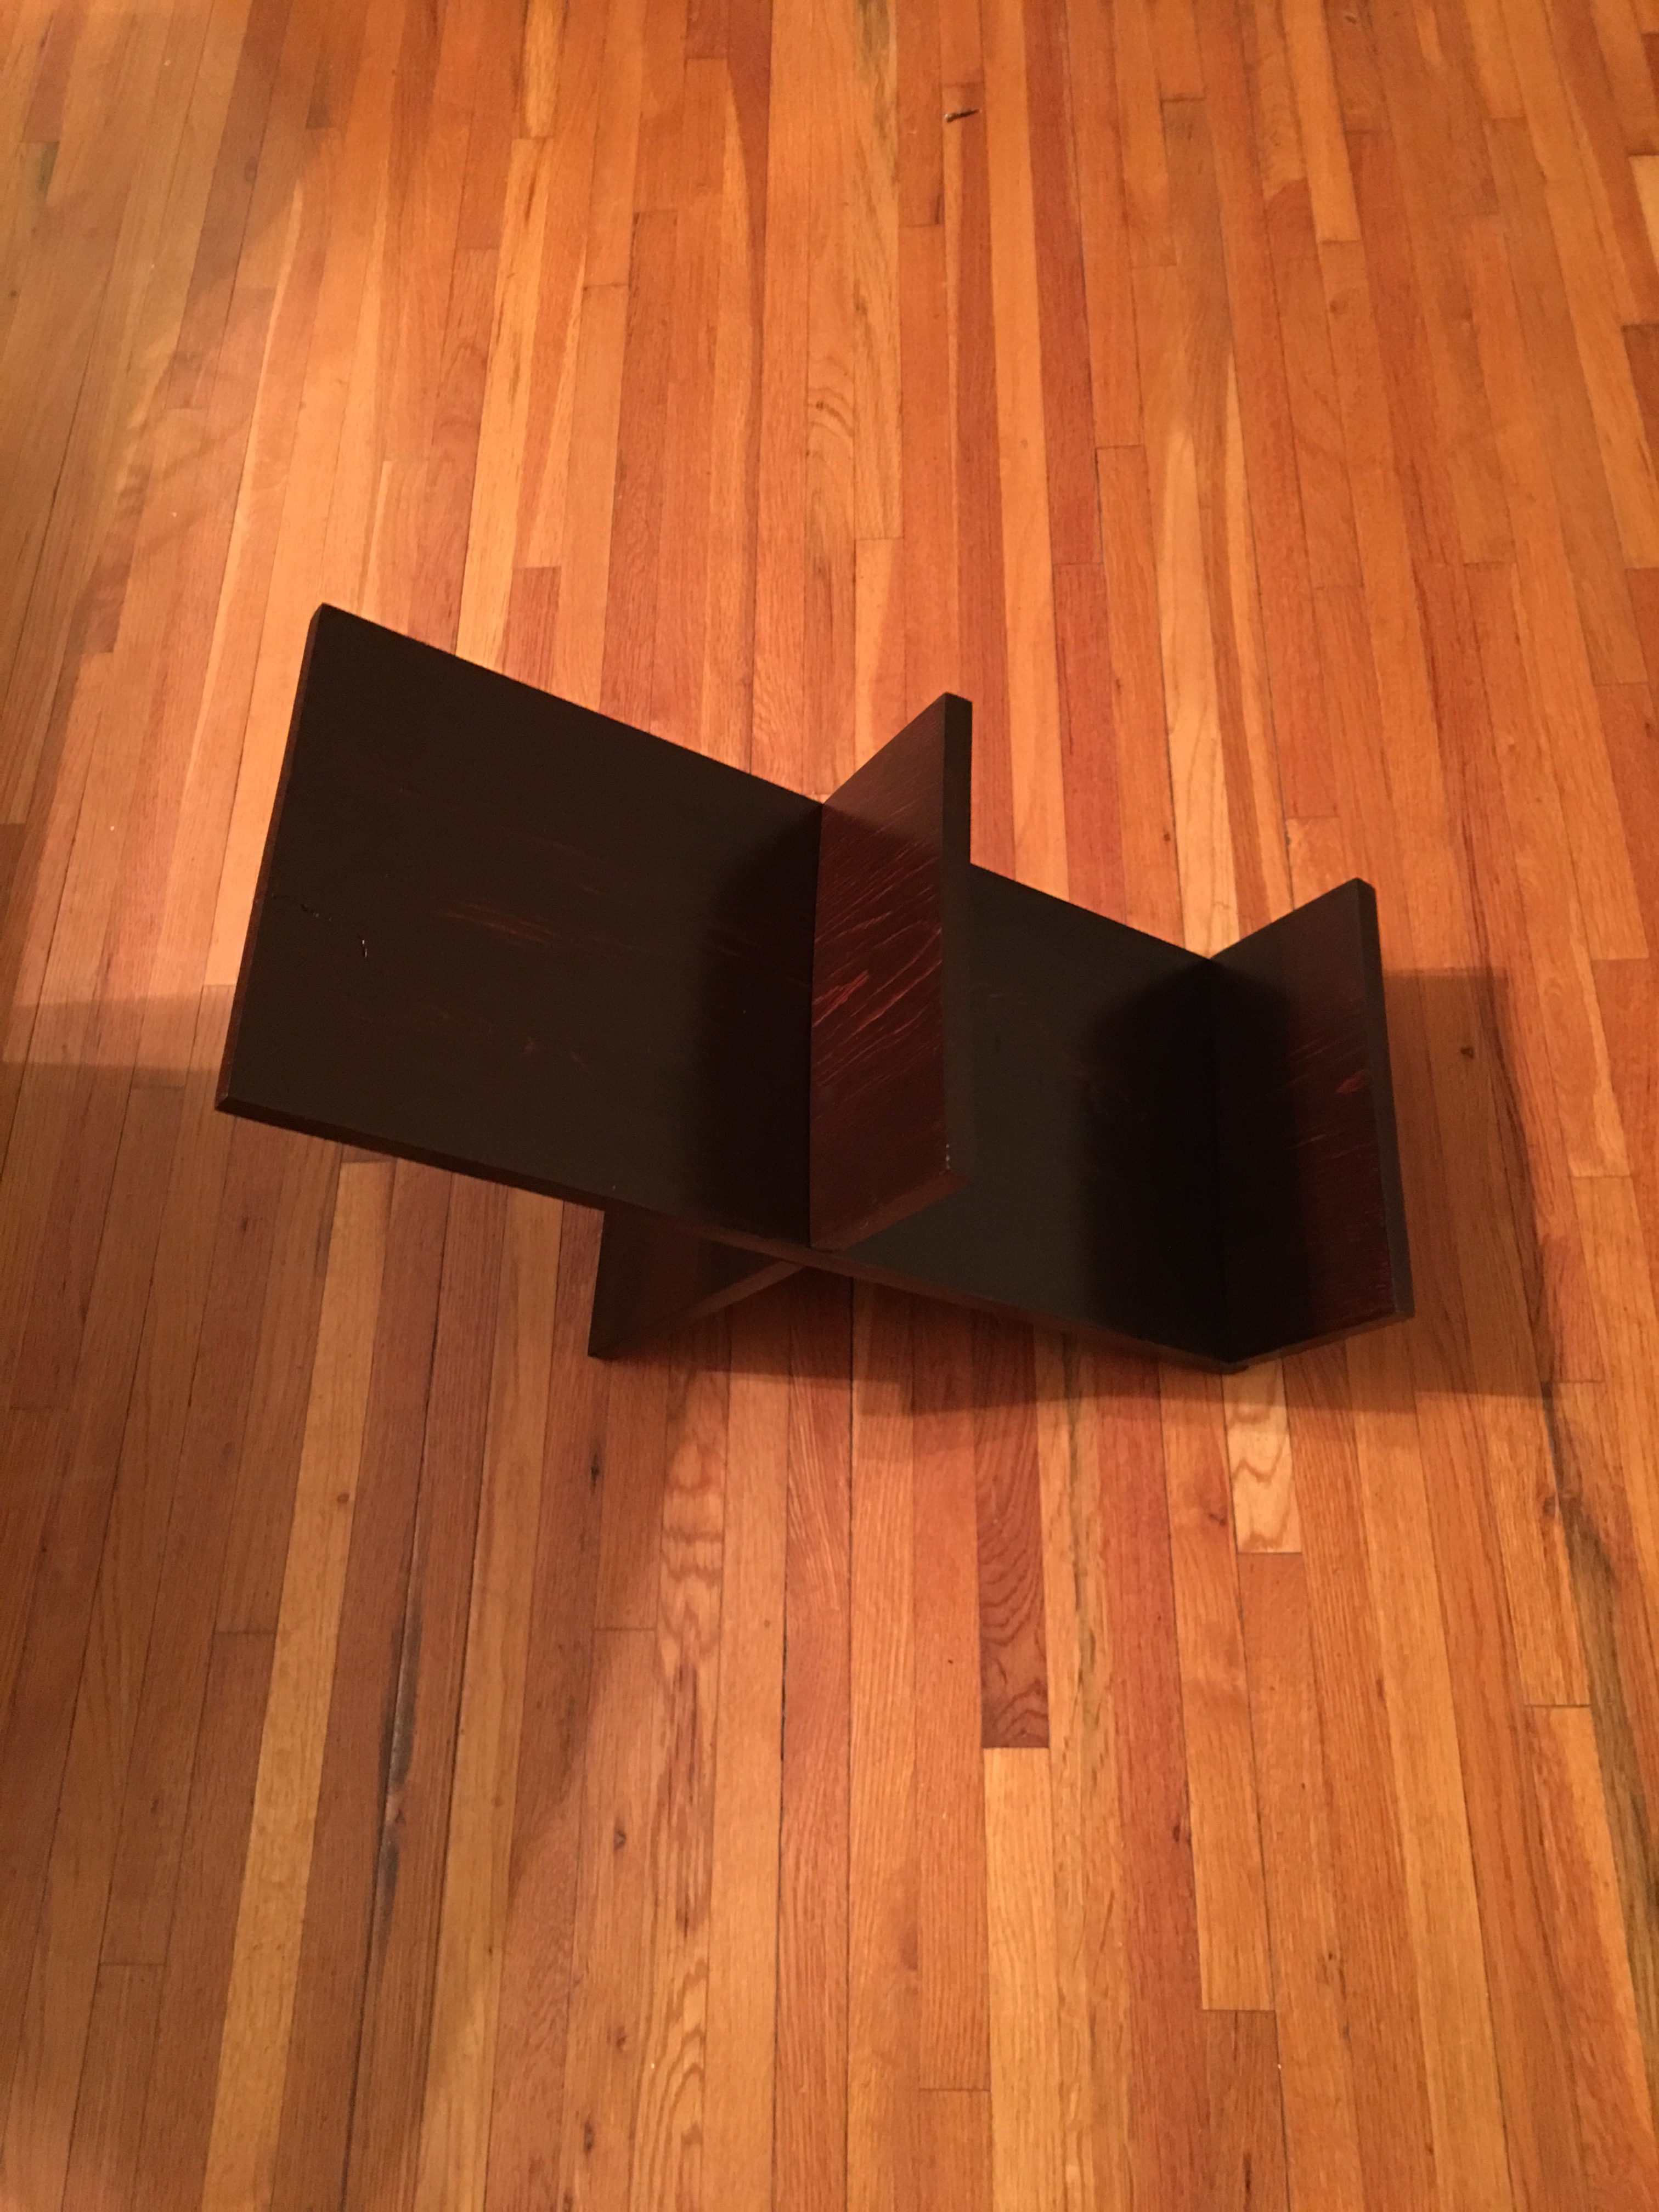
Okay, it’s official! My first order has shipped. I can now say that Handmade by Corey is ready for business. I invite you to take a look at my growing Etsy Store : HandMadeByCLS by clicking on the link provided.
Okay, it’s official! My first order has shipped. I can now say that Handmade by Corey is ready for business. I invite you to take a look at my growing Etsy Store : HandMadeByCLS by clicking on the link provided.
Today is Pinewood Derby for the Scouts. My son and I have worked really hard on this year’s car. In fact, I would say this year is the best car that he has done. And by our standards, he wins best car award!
Every year we pick a car. Then he chooses a design, the decorations, and the color. I do all of the woodwork, and he does the sanding, painting, and assembly. I must say he has gotten much better over the years.
Today, however, I almost blew the race! I picked up the car to check that everything was good, and the fender fell off! With lest than 3 hours to race time I was in a panic.

I quickly grabbed the glue, and hoped that it would dry in time. My wife told me to do it like this last night. I won’t live this one down!
One of the things that I continually struggle with is balance. Trying to get everything done while still enjoying life. Sometimes, something has to give. unfortunately often, it is the things that I want to do most.
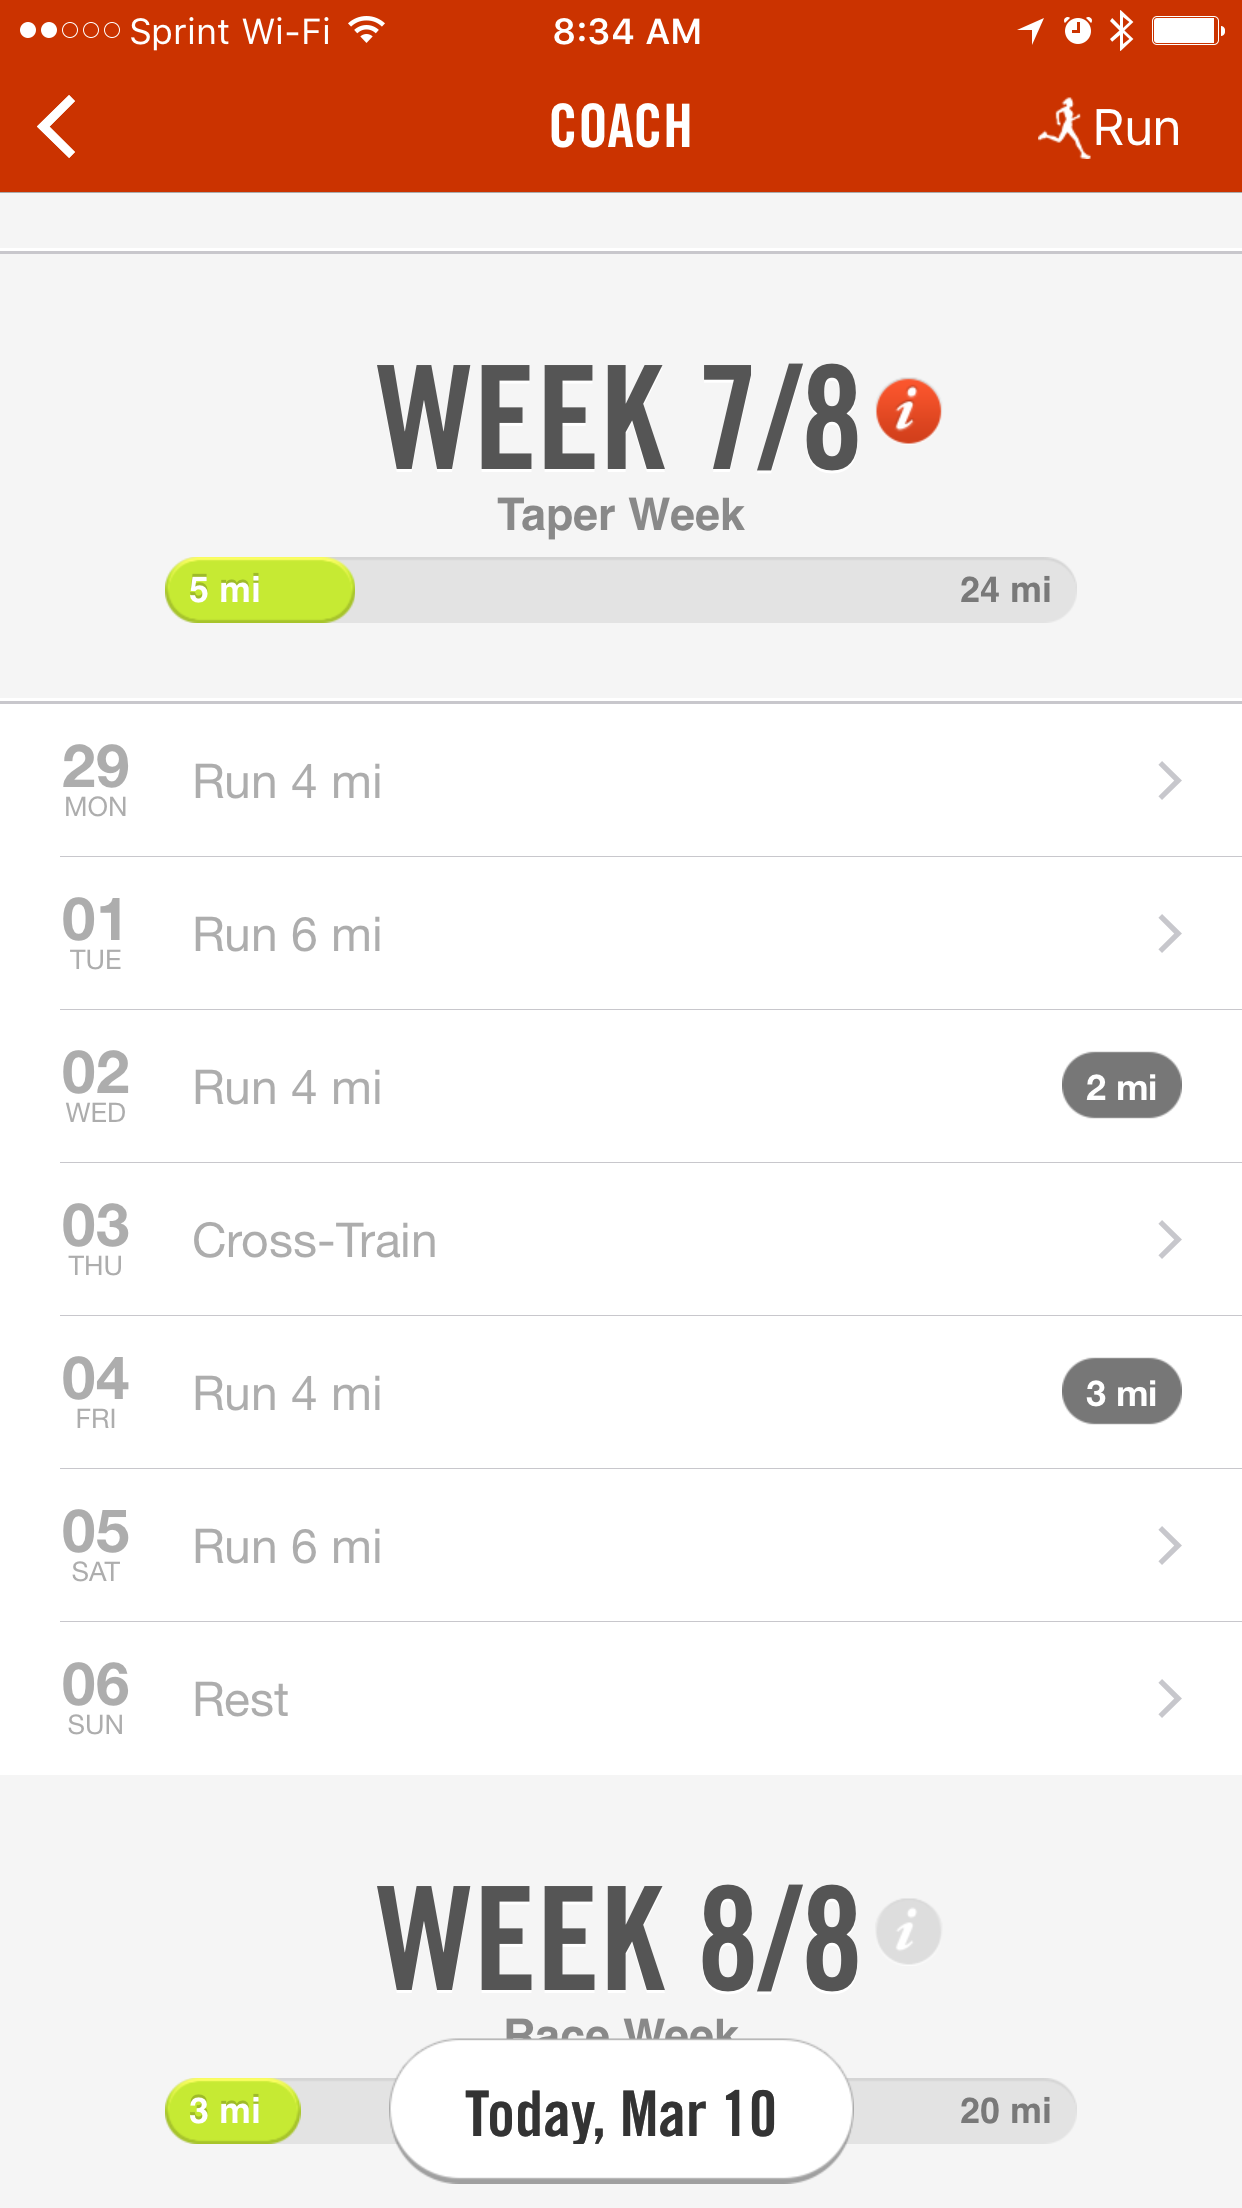
This week was an extremely exhausting, and busy week for me, and what suffered most was my fitness goals. Last week my running coach at a 24 mile run plan scheduled however of that only 5 of those miles got done.
Here is to a better run week 🍻!