Can’t travel? One of the things we simply love is, if we can’t go there, we bring new cultures to us. Last year. I purchased a Downton Abby inspired cookbook, and I have been working my way through the recipes. I haven’t been of a Victorian-era themed restaurant, but I am open to suggestions. But this experience has been a complete joy for me to do.
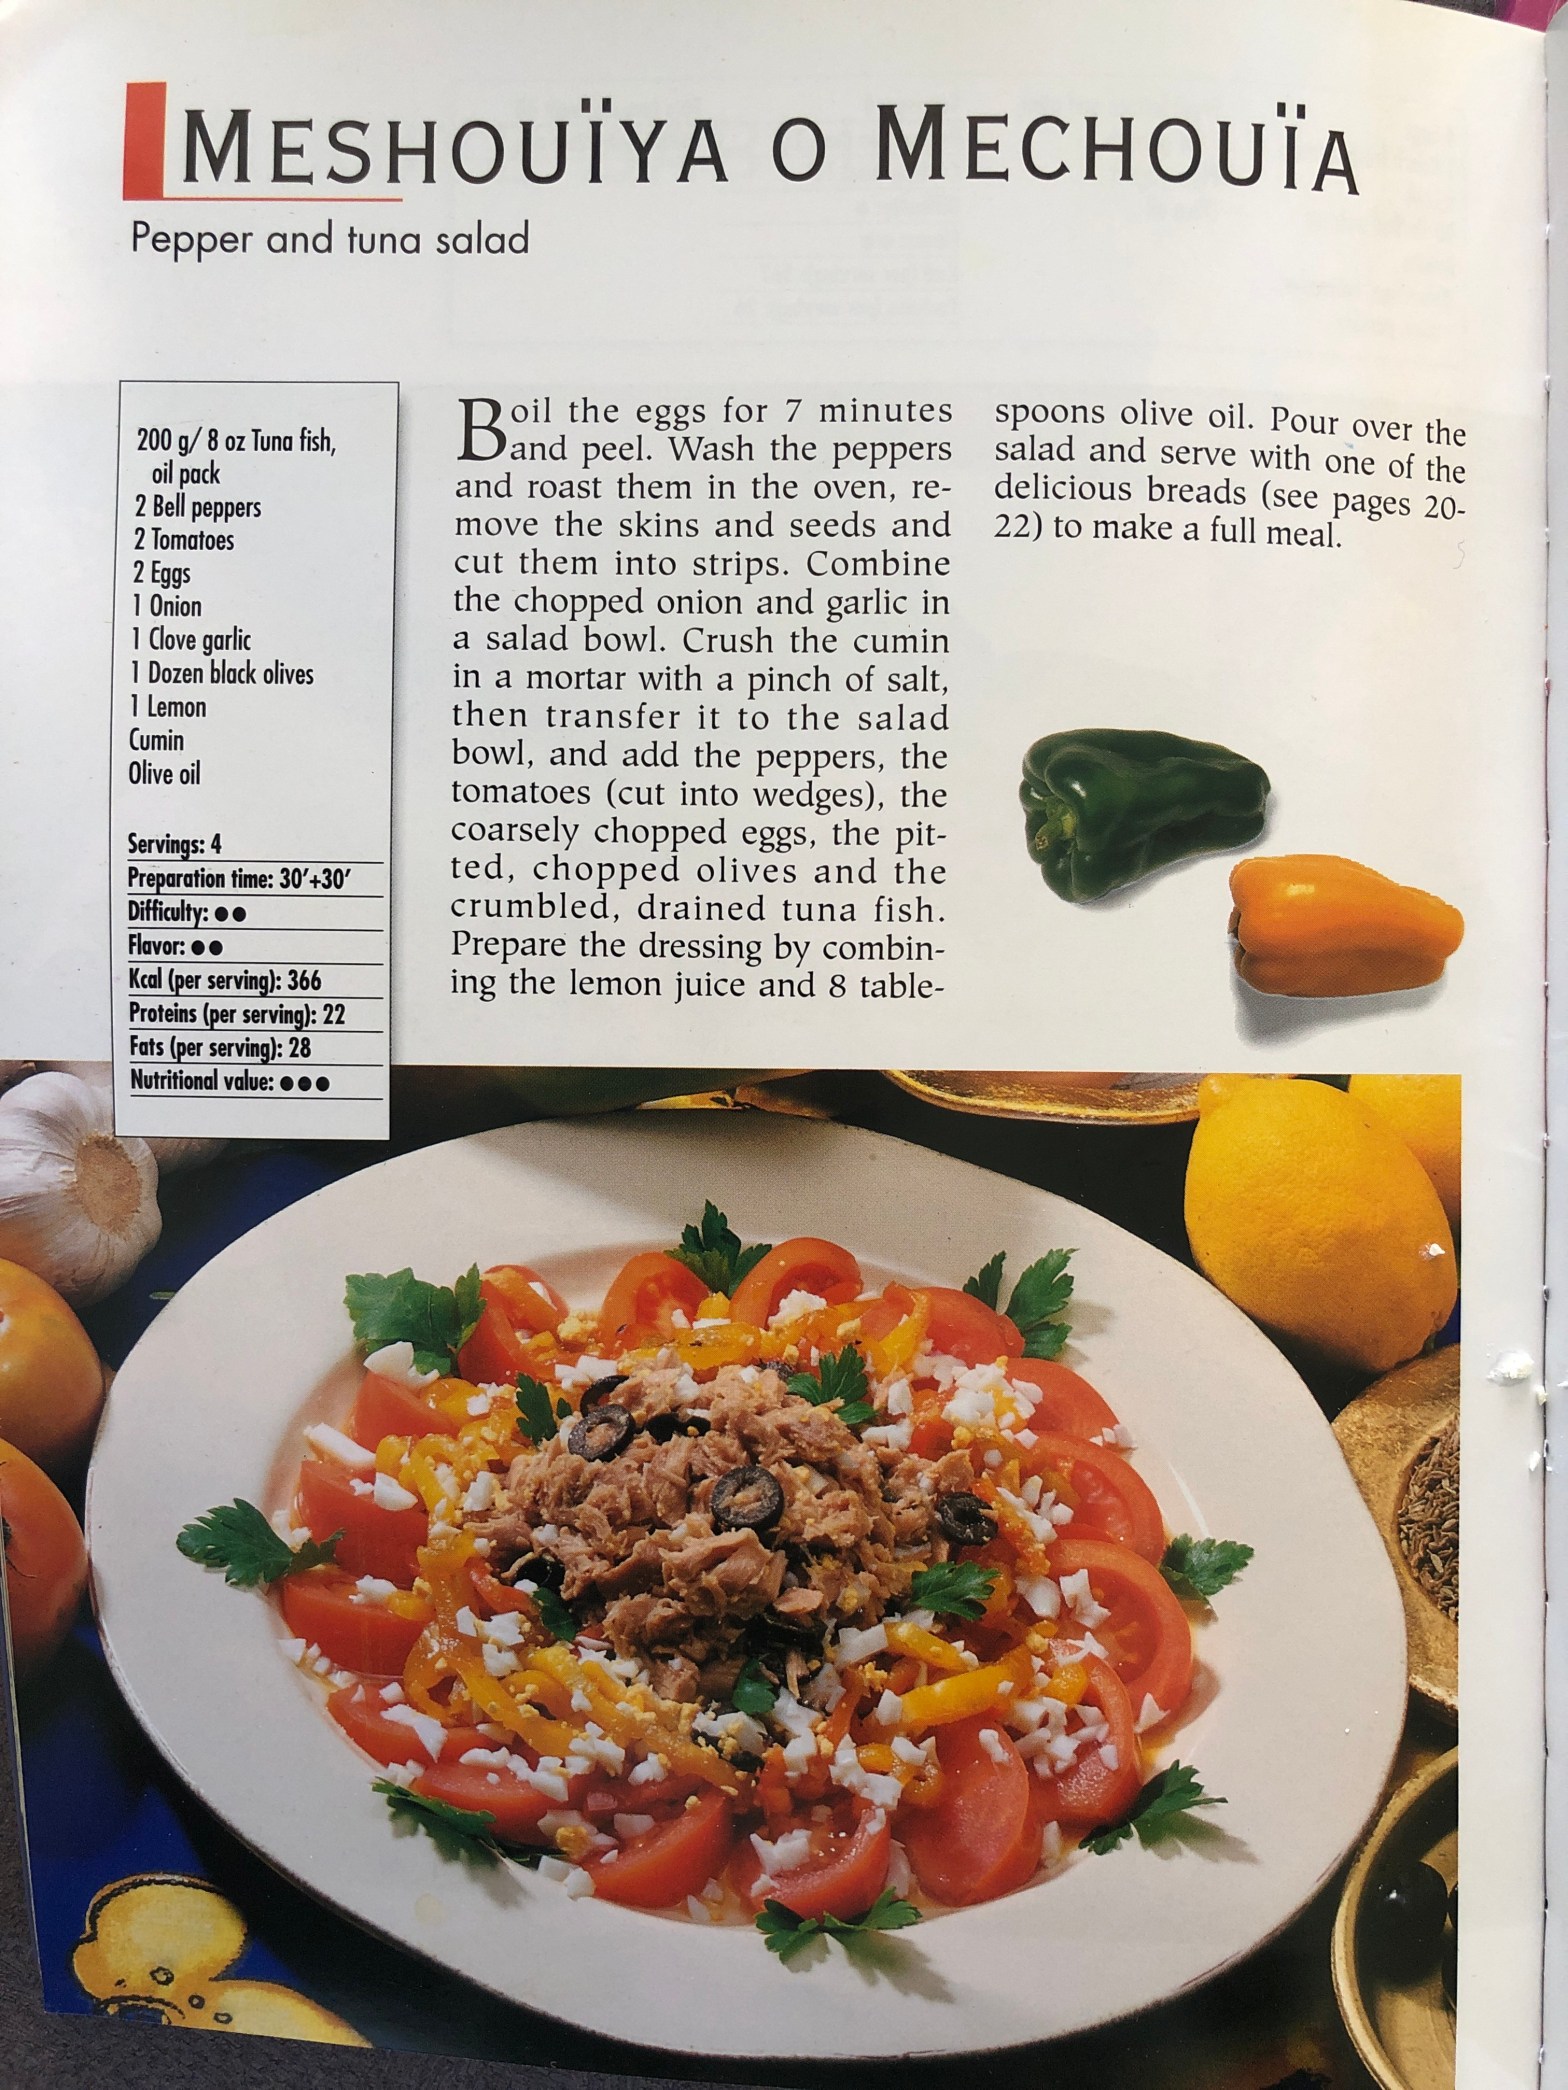
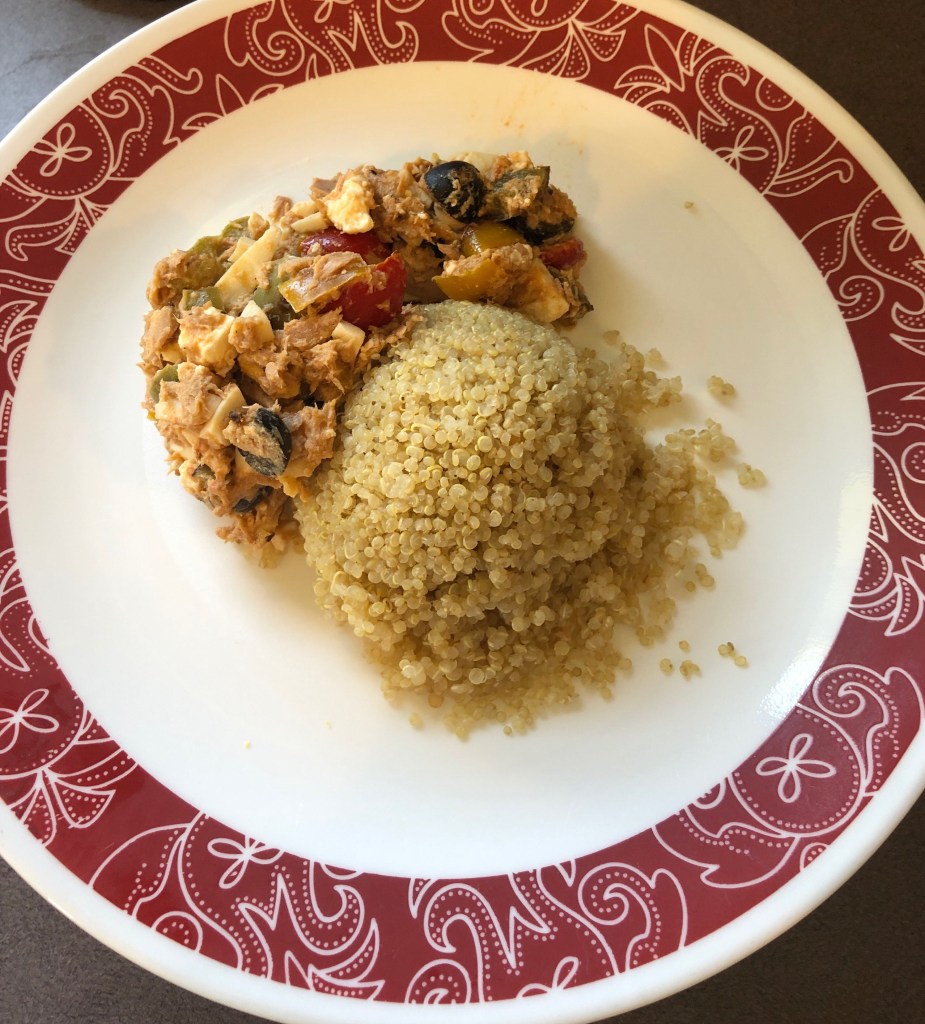
After expressing some interest in trying Arabic food and asking me about some of the foods I’ve tried on my deployments, my daughter bought an Arabic cookbook and vowed to try every receipt it contained. Today, when I came home for lunch my daughter had completed the first recipe of their journey. Two plates had been set aside for me and my wife to try!
Let’s take a moment to define or redefine a term that many of us shy away from. That term is Budgeting. I had a conversation recently. I told the person, in order to reach their financial goals, they would need to start budgeting. We were having a great conversation, but when I said the word “budget”, I was met with resistance. Why do we dislike the word budget so heavily? Budgeting is not something that we should run away from. The fact is, every book on wealth building starts with the ability to plan your finances. A budget is a written plan telling your money what you need it to do.” Even simpler. A budget is a plan to intentionally spend your money.
Some of us have it in our heads that the idea of financial budgeting means a lack of money. When the contrary is actually the truth. Budgeting allows you to see exactly what money you have. In many other areas of our lives we seek out information on budgeting, but when it comes to our finances, we look at it as highlighting what we are lacking. Here is what I mean:
We look for ways to budget our time, so we can accomplish everything that we want to in a given time period.
We look for ways to budget or physical resources to make them last longer; because we want to don’t want to waste resources.
We also budget our calorie intake, so we can maximize our efforts towards weight control.
When it comes to budgeting our finances, many would choose to increase credit spending instead of setting up a budget. Some even choose to try to increase income with various side jobs and business opportunities. But with more income comes more spending. Without a plan to control their money, many find themselves right back where they started.
During the 2008 financial crisis, I focused my energy budgeting. I focused on getting to know what it took to run my house, save for the future, and live for the day. I took a look at my finances and discovered that I was spending money on things that I really didn’t need. Once I cut them out, I actually found more money. In essence, during the 2008 crisis, I got a raise!
Now, speaking truthfully, the first time I sat down to implement my budget, it didn’t quite work out the way I planned. It did, however, provide me some feedback in order to make the corrections for the next month. This is where many people stop the process and give up. Claiming that budgeting doesn’t work. I kept at it though, and month after month, when things didn’t work as I planned, the feedback I received from that failure, allowed me to make adjustments. Until eventually I didn’t need to make any adjustments. The process was working, and I was able to repeat it every month.
By taking the time to see what my failures had to tell me, I learned how to budget, in a struggling economy, I flourished. I’d discovered that Dave Ramsey’s statement is true! “You have to tell your money where to go before it tells you where it went.” I discovered that when you properly manage your money, there is more than enough money to do the things that need to be done. You may also discover, as I did that you have some to save and do the things that you also want to do. I promise budgeting is not a 4-letter word. It is the pathway to prosperity.
Even before I began my financial journey, paying off credit cards was a discussion that I would hear often. Every year credit card debt was and still is among the top New Year’s resolutions. I guess that is what made it easy for me, when I decided to turn away from relying on them. After reading my, “Why you need $1000” post, a friend shared with me her thoughts. She wanted to make sure that I knew that is was possible to use credit and not end in mounds of debt. And you know what, she was right. It can be done.
The argument about credit and cash has been around for years. This post will probably not sway you one way or the other, either. To be perfectly clear, the argument is not actually about using the little plastic cards to make purchases. The argument is truly about spending more than you have to spend. It’s about living within your means.
I will be the first to admit that not everyone has a problem with credit cards. There are those who use them as a financial tool, and then they pay the dang things off at the end of every month. But the majority of people that struggle, overused their credit cards. They eventually find themselves in a situation where they cannot manage the bill that accompanies their spending habits. They find themselves in debt.
I have had several conversations with couples and individuals who, like my friend, uses credit cards for their daily needs; meaning, everything is paid for with their credit card. This includes paying the bills, entertainment, emergencies and everything in between on their credit card. When they receive the bill, they pay the full balance. Not just the minimum payment due. They never carry a balance, and they do this every month without fail. If everyone did this, the nation would not be in such turmoil when it comes to credit card debt. These individuals, like my friend, are not the majority. The majority overspend on their cards, they have multiple lines of credit, and oh yeah, they carry a balance. They have DEBT!
For the majority of us, cash only is the alternative. Well, not necessarily only the greenbacks, but cash or its equivalent. Cash equivalents are debit cards, cash cards, gift cards or other items that are tied to cash. This means, when you shop, it is with cash. If there is an emergency, it is paid for with cash. If there is a vacation, it is paid for in cash. This way there is no risk overspending, and there is no bill at the end of the month. For me, the idea of paying for something twice doesn’t sit well with me. If I pay for it once, I don’t want to have to deal with a bill for the same thing later.
My daughter, while working on an assignment for school, got into a debate with her teacher. The assignment was to manage expenses. The teacher told the class that they had to have a credit card. My daughter asked, “is this supposed to be based on our reality?” The teacher replied, “yes.” “Well I don’t want a credit card, because I don’t believe in them. My dad taught me not to borrow money” my daughter told him. After a quizzical look the teacher then asked, “well, how will you buy things?” Can you guess what my daughter replied? That’s right, CASH!!!
I think we tend to forget that there was a time, not too long ago when credit was not a thing. We lived based on the amount of money we made. After the 1950’s, using credit card instead of cash became more popular
So why not just spend the cash I asked? One of the members of a class I taught responded, “If I use cash, then I no longer have that cash to use for other things such as emergencies”. To this, I say, True! Although even if you use a credit card, you are promising the cash equivalent payment to the card company, so you still don’t have the cash to use anyway. The only difference is the credit card company is willing to allow you to make small payments over time. For a small fee of course.
With cash, there is no possibility of overspending, no commitment of future funds, and no monthly payments. While credit cards may get you things at a faster pace, spending cash makes you think about what you are buying. With cash, there is only one payment, and after I get my product or experience, the transaction is complete. There are no interest fees, late fees, or risk of missing a payment. With cash, I pay, and then I’m free to enjoy the rest of my experience.
My preferences, however, do not have to be yours. Although, if you ask me, I will tell you that, the bank cannot repossess anything that is paid for in cash. If you have the discipline and ability to not carry a balance, then you may prefer to use credit cards. To say one is better than the other is a matter of opinion. But all experts agree that keeping your liabilities lower than your assets is how you win with money. The true answer to the questions what is better; is whichever one helps you reach your financial goals sooner!


You must be logged in to post a comment.