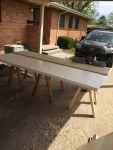
There are several things that I have discovered that are mandatory to have in any workshop. Clamps and a Reliable Sawhorse. When I started working with wood, I purchased my original set of sawhorses at Lowe’s. It was a plastic sawhorse, not as sturdy as I would have liked them to be. But it got the job done. Over time, however, they started to buckle under the weight of the wood and tools that I was using. So I decided to make my next set. As a Fathers Day gift my kids helped me build my first reliable set of sawhorses for my workshop. And I immediately knew that I would need another one. Here is what I did to build it.
IF YOU ATTEMPT TO BUILD THIS ITEM, PLEASE BE SURE YOU READ ALL OF THIS DOCUMENT BEFORE MAKING ANY CUTS.
IF YOU HAVE FOUND THIS POST HELPFUL, PLEASE LET ME KNOW. SEND ME YOUR PICTURES AND COMMENTS
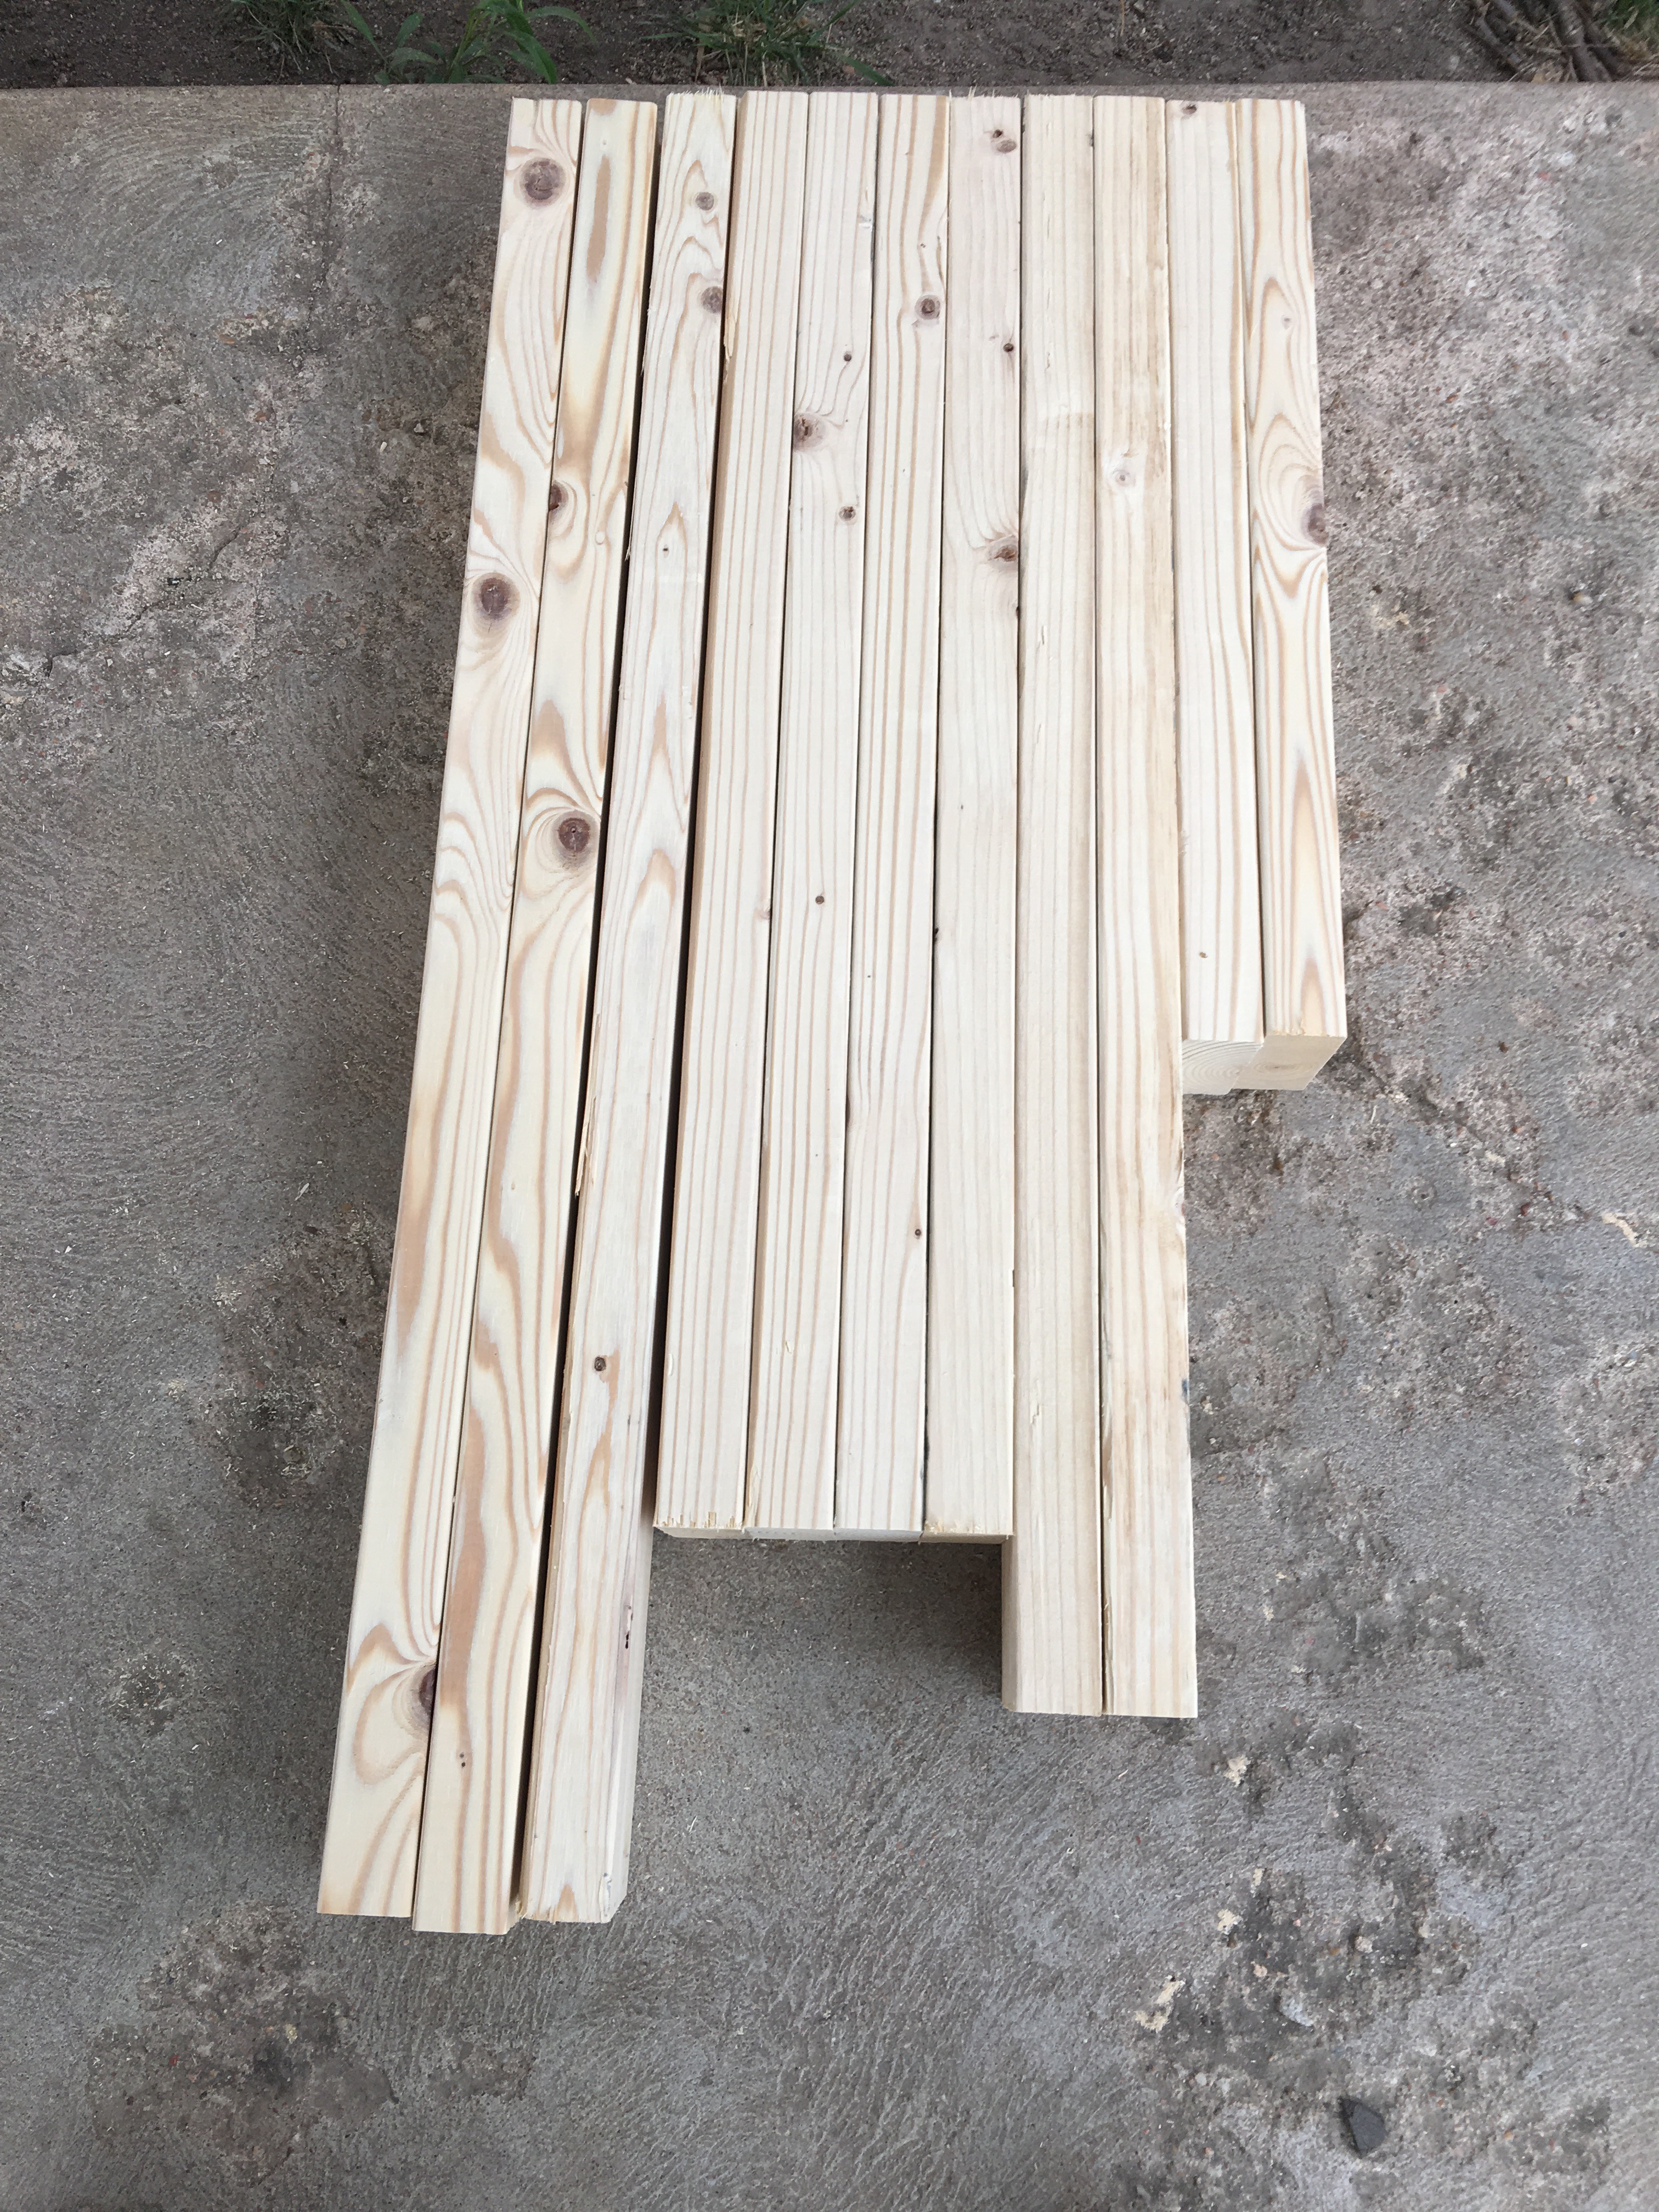
Materials
2 12ft 2×4
1 10ft 2×4
3 in wood screws
Wood glue (otional)
Screw driver or equivalent
Cut list
3-36 inch
4-34 inch (these cuts depend on how high you want your horse)
Optional
4 33 inch for shelves.
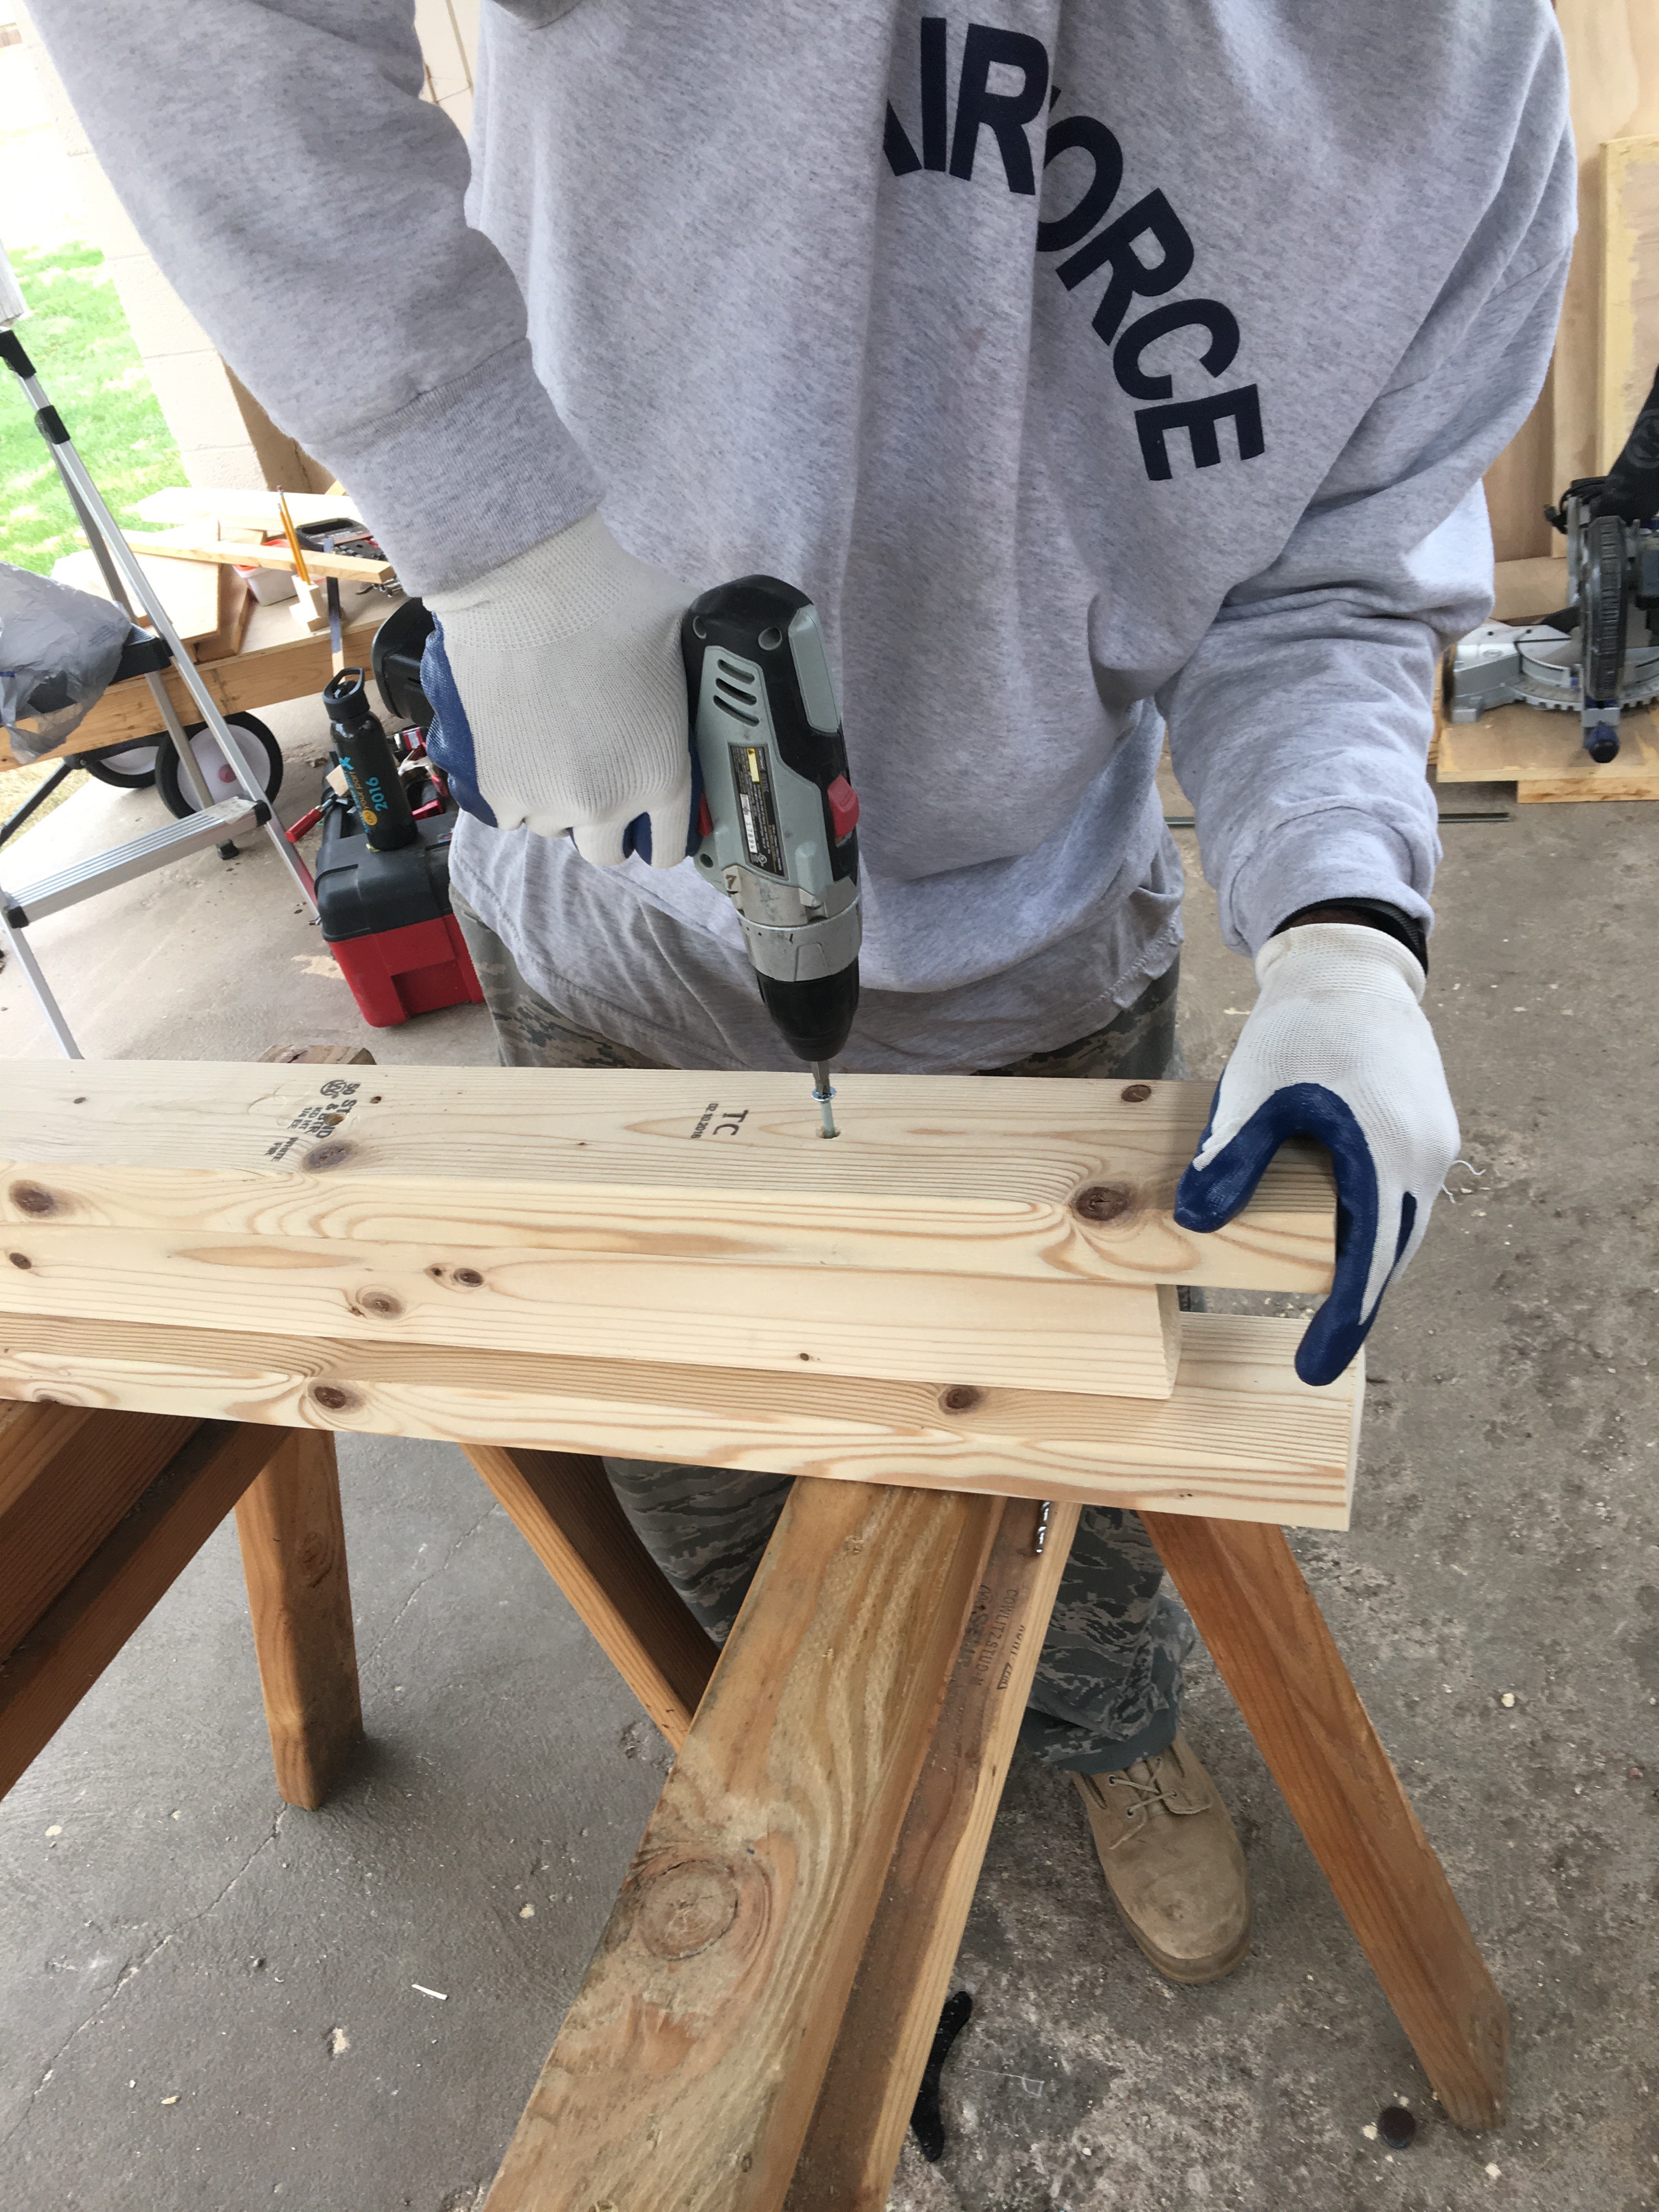
Clamp your 3 36 inch piece together as such. Find the center line of the top board in order to center the screw into the board. using wood glue would help make a stronger bond. (note: If you are using wood glue, when/if you make a mistake, such as I have made in this picture, it will be more difficult to fix. Make sure you are using the 3 36 inch pieces unless you intentionally want to use a shorter board for the middle.) 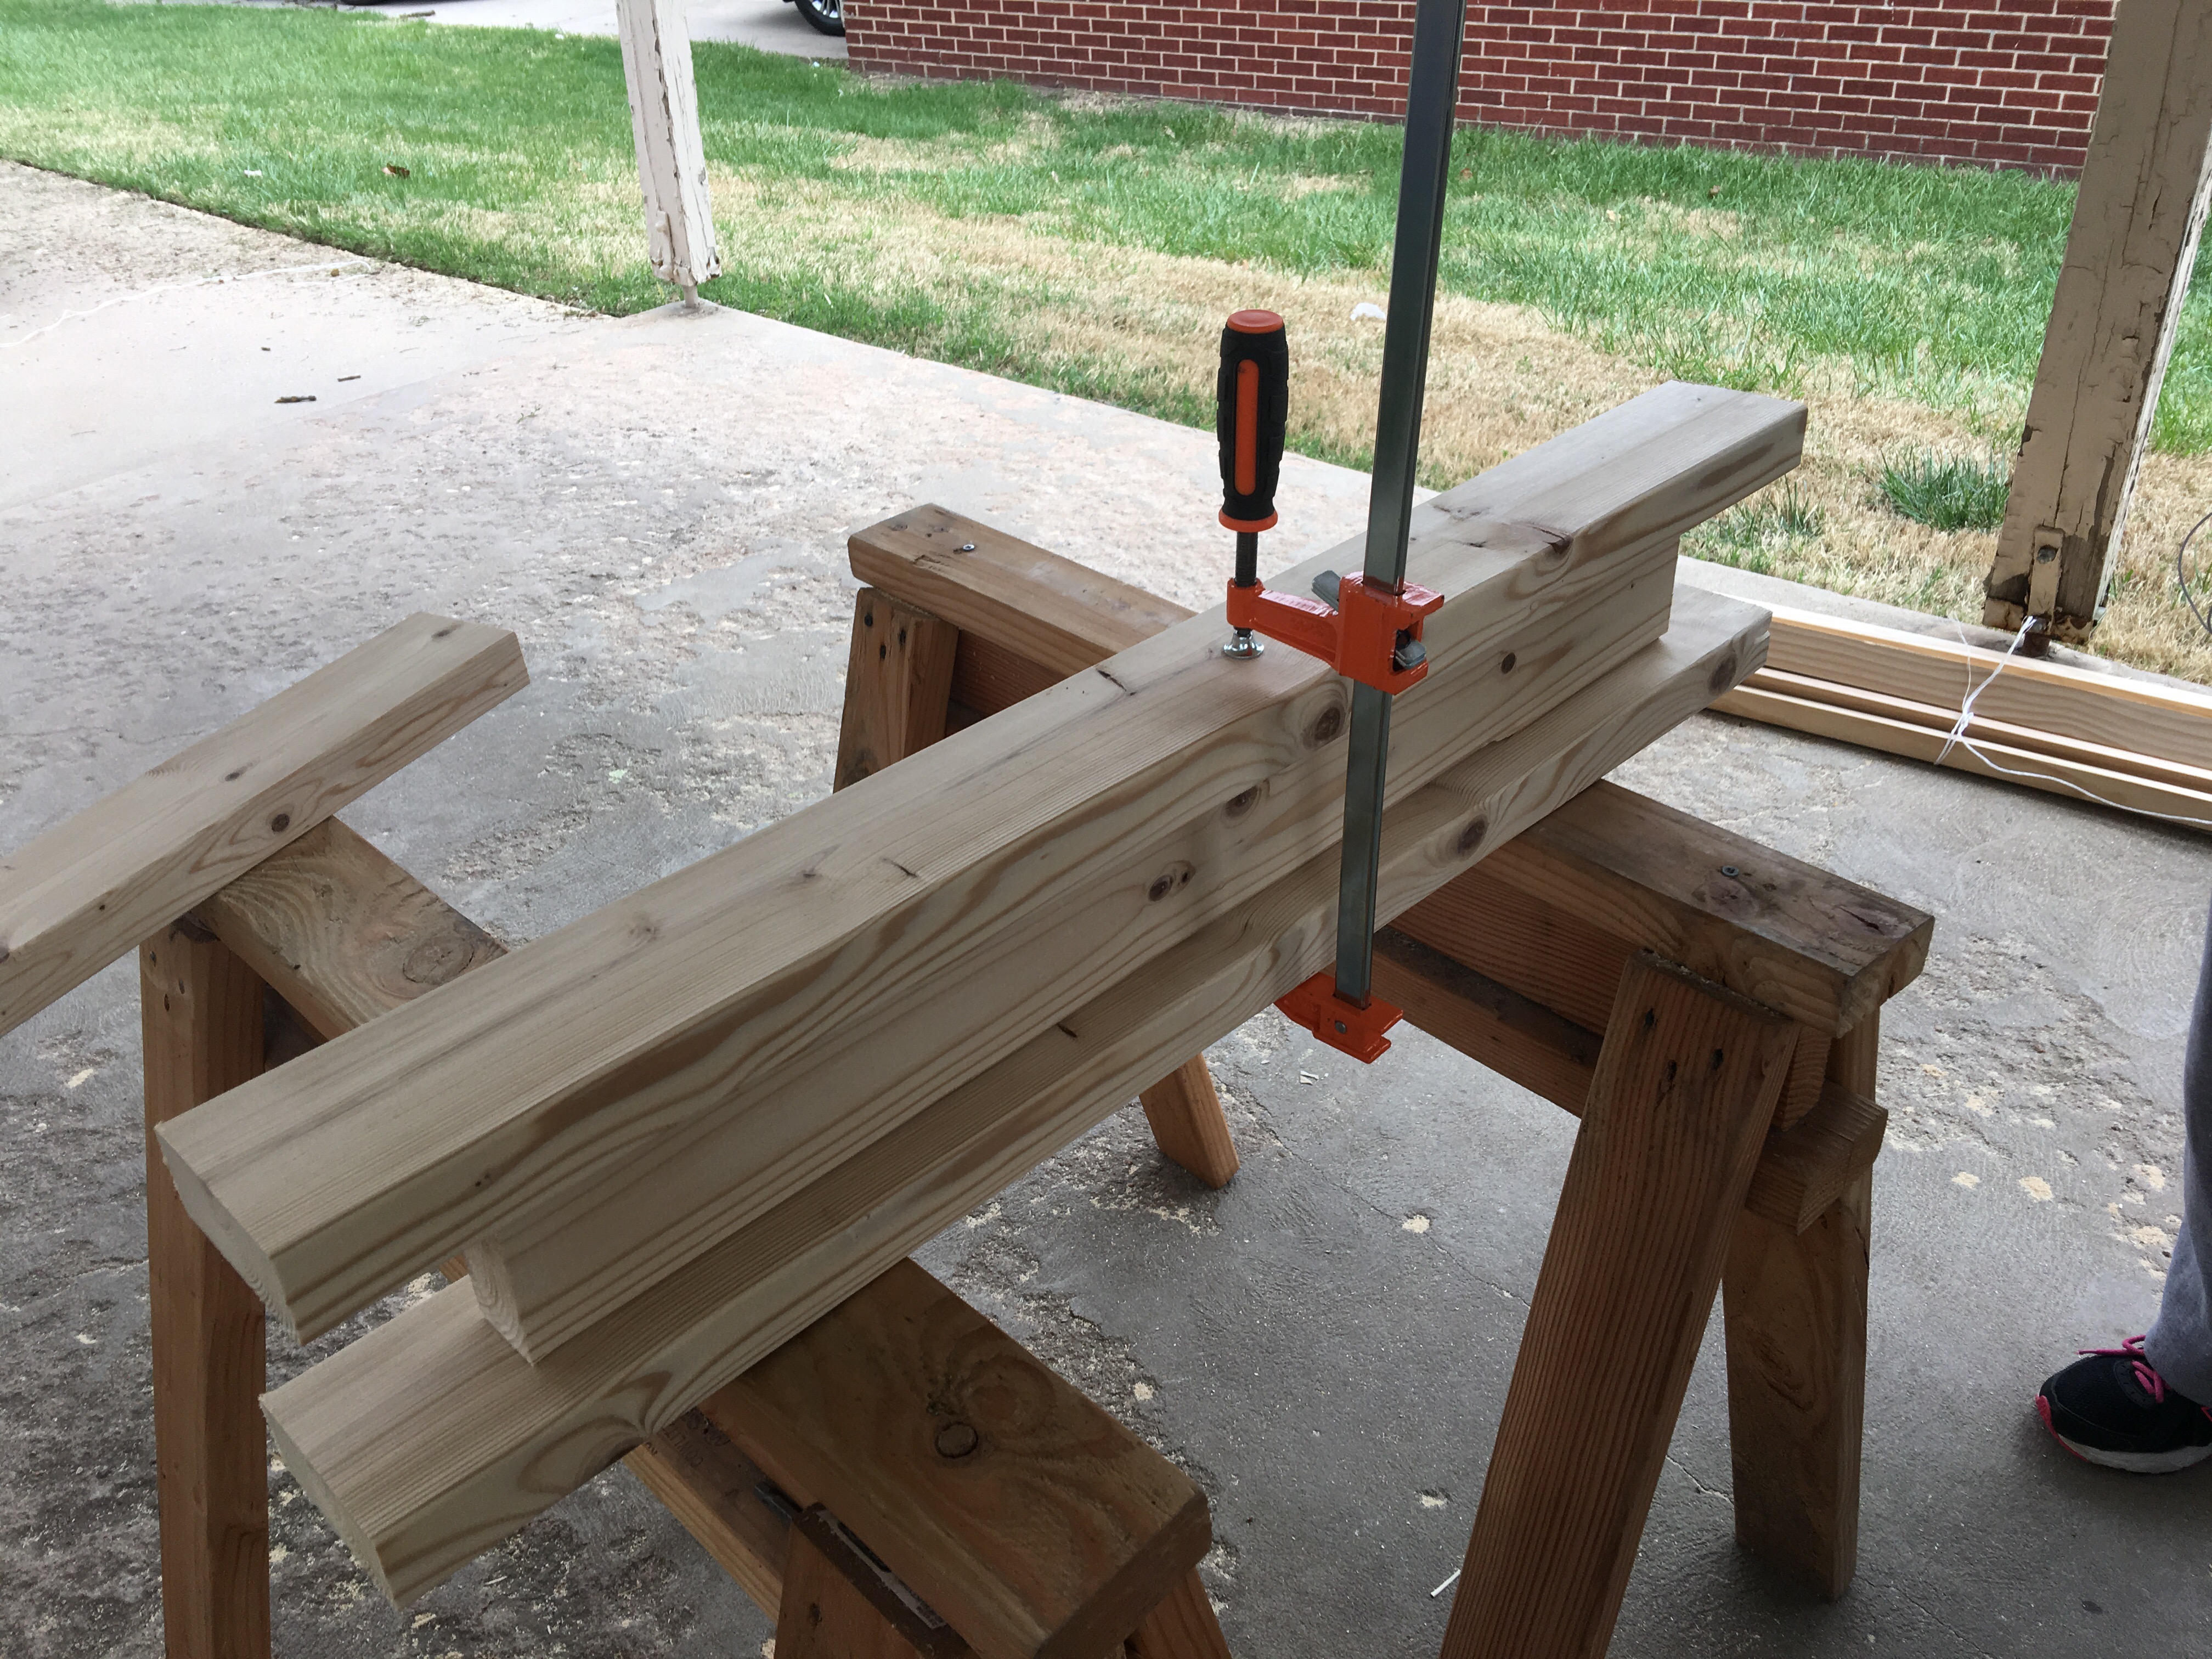
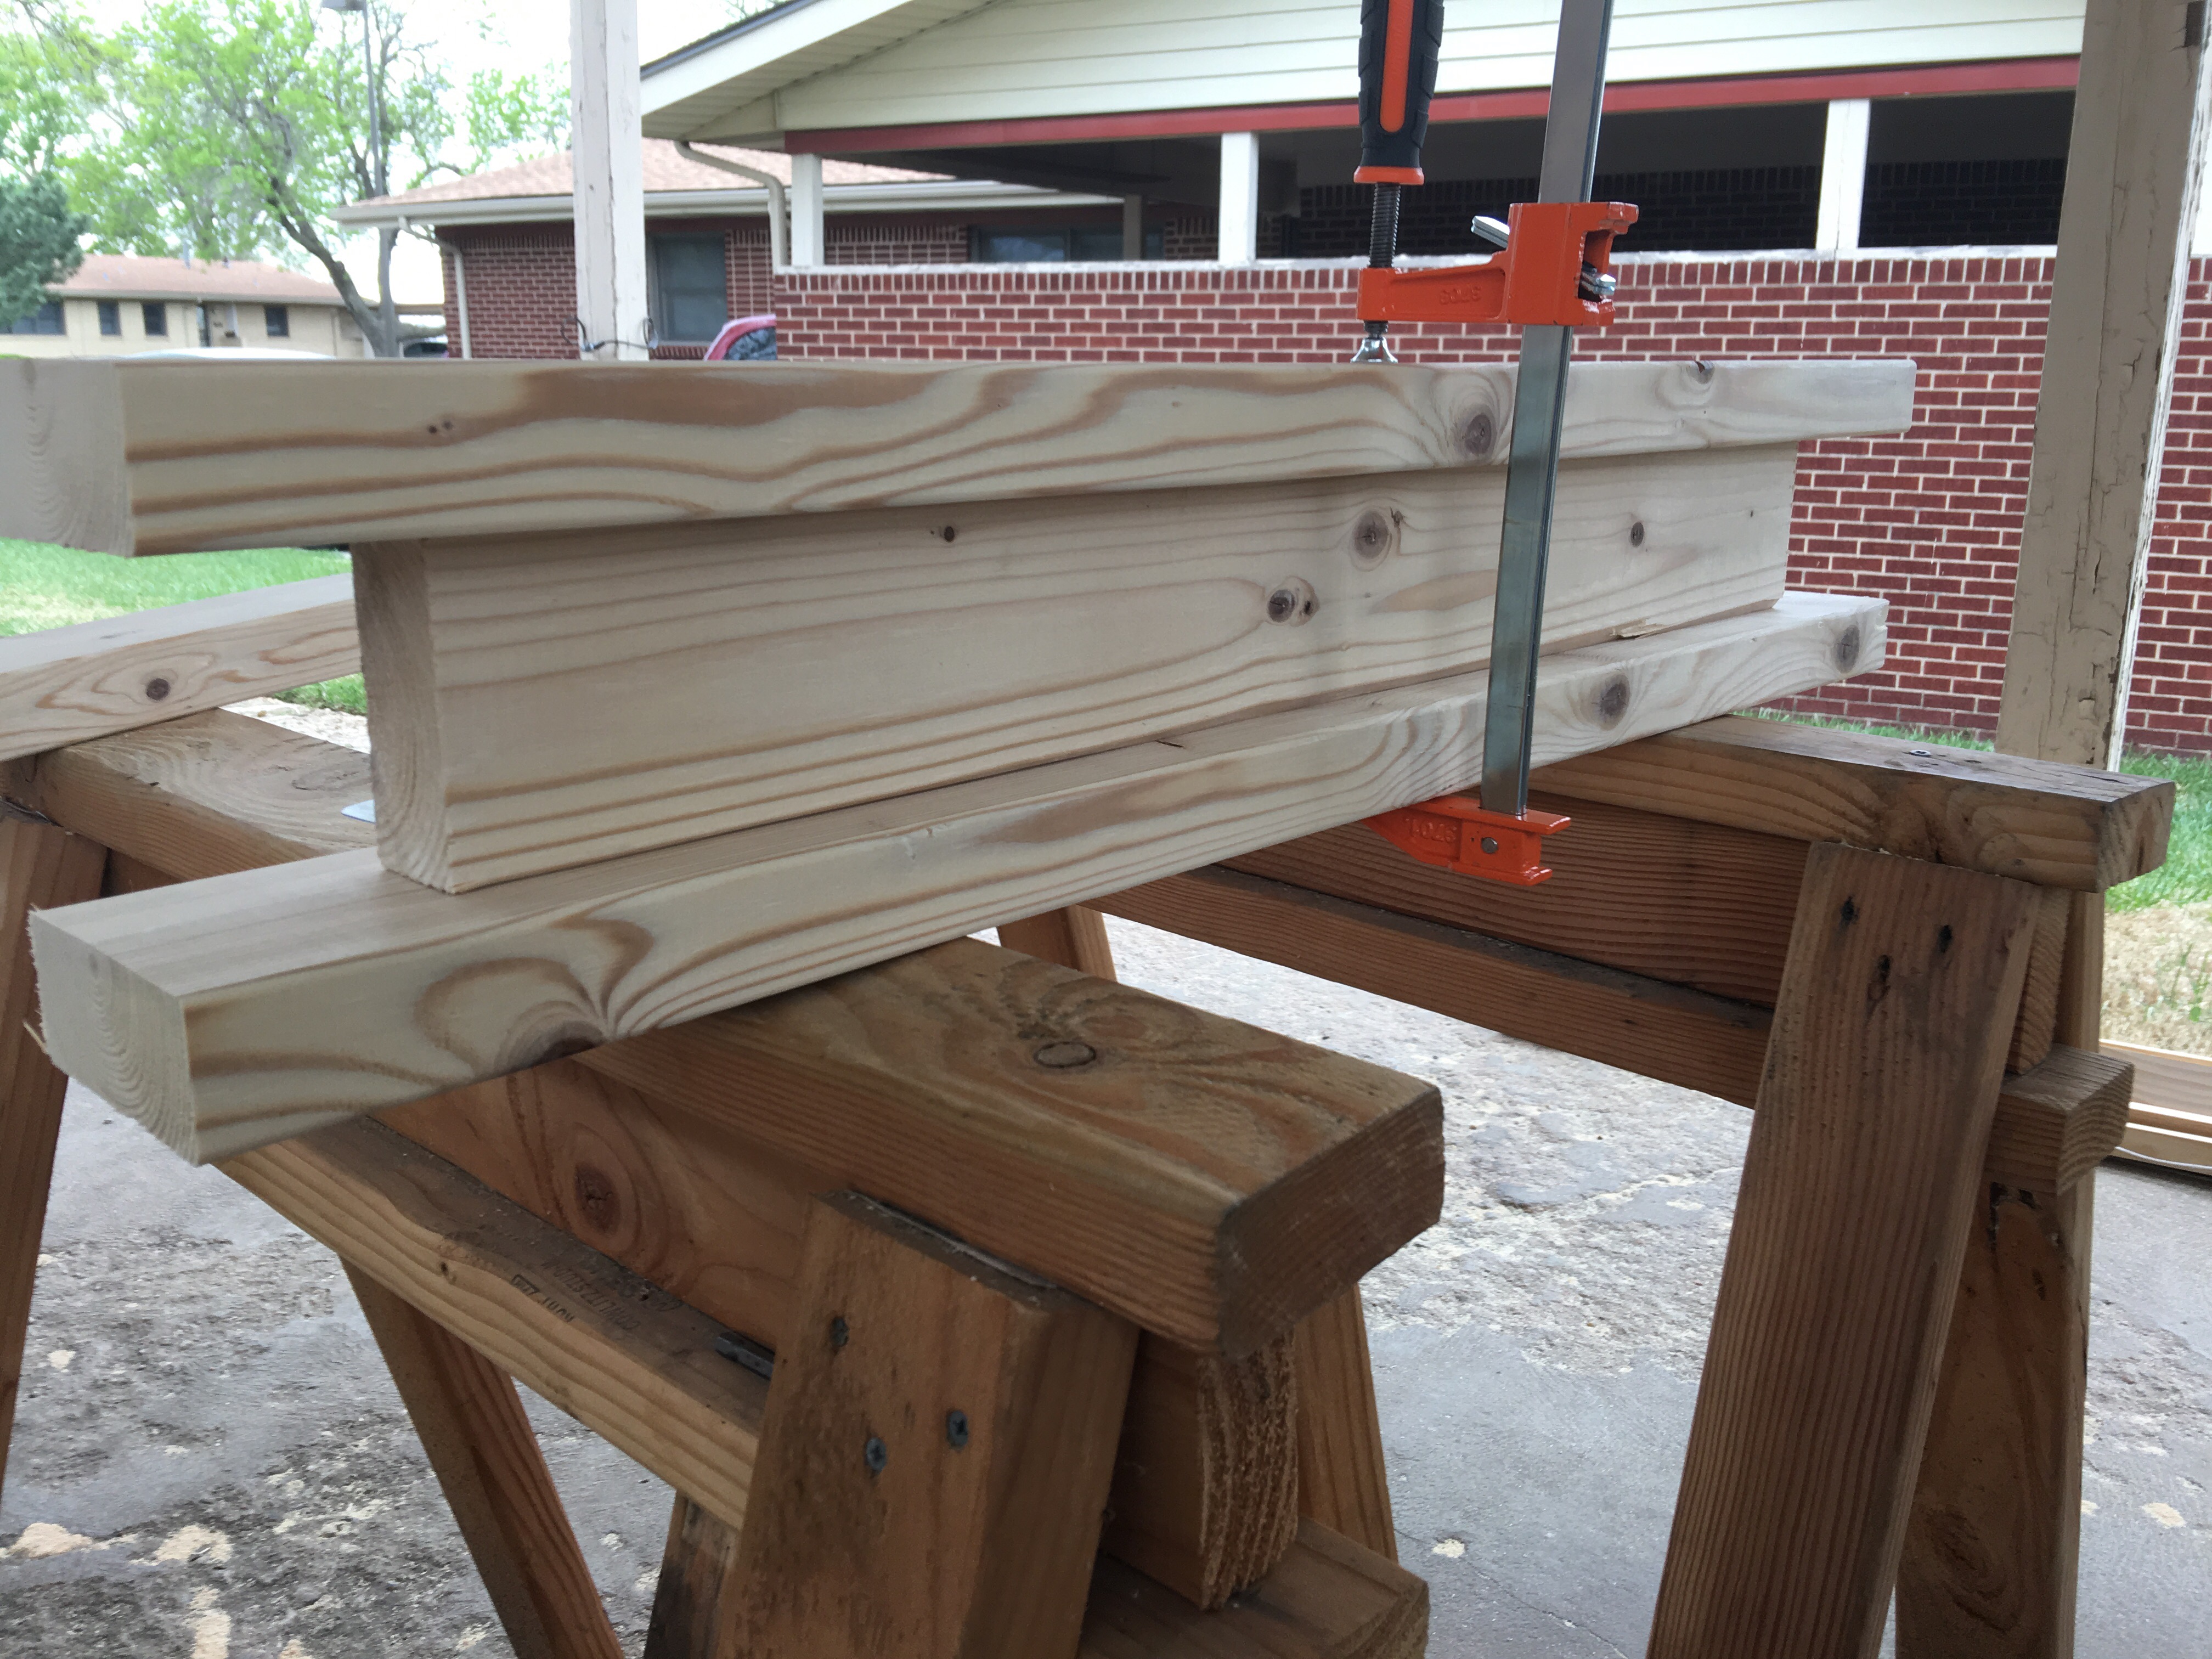
Flip and repeat for the reverse side.
(Note: It would probably be helpful to use 2 clamps, one on either end. The purpose of the clamps is to ensure your pieces do not move on you.)
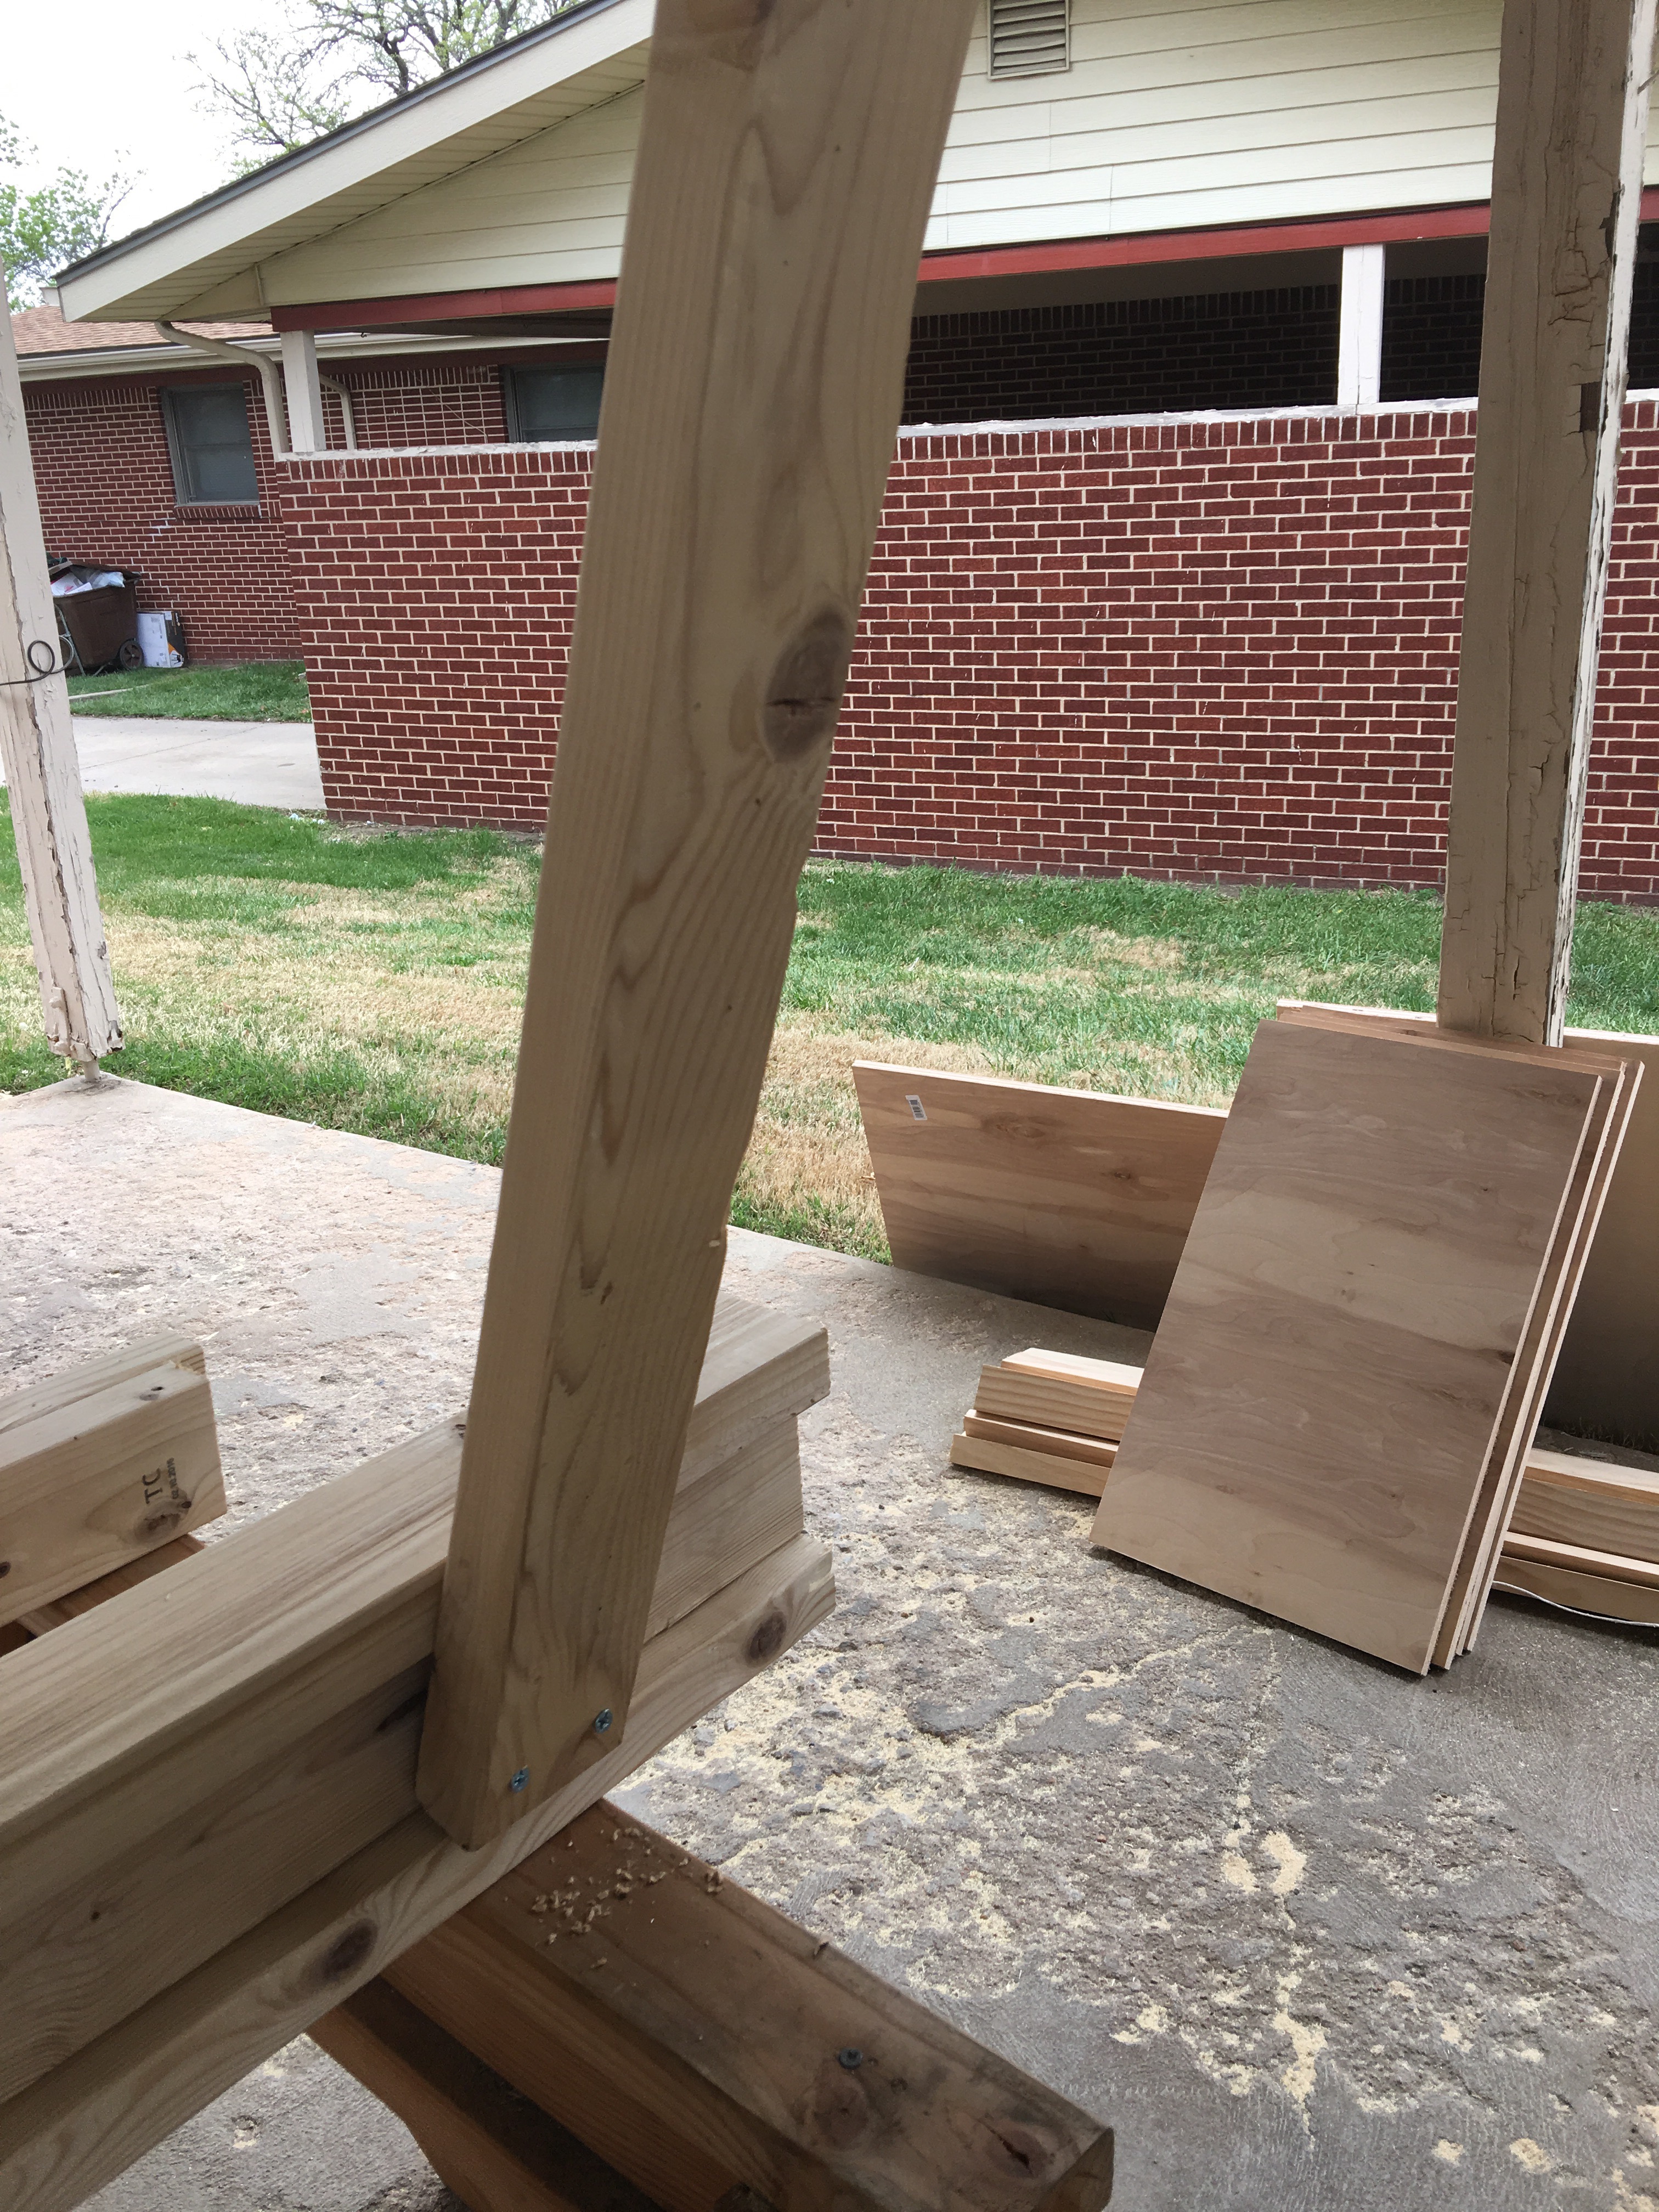 Place the 33 inch legs evenly on both sides. (note: Legs do not have to be flush with the end of the board. But you want to make sure they are even on both side. This will keep ensure your horse is stable and will stand strong.)
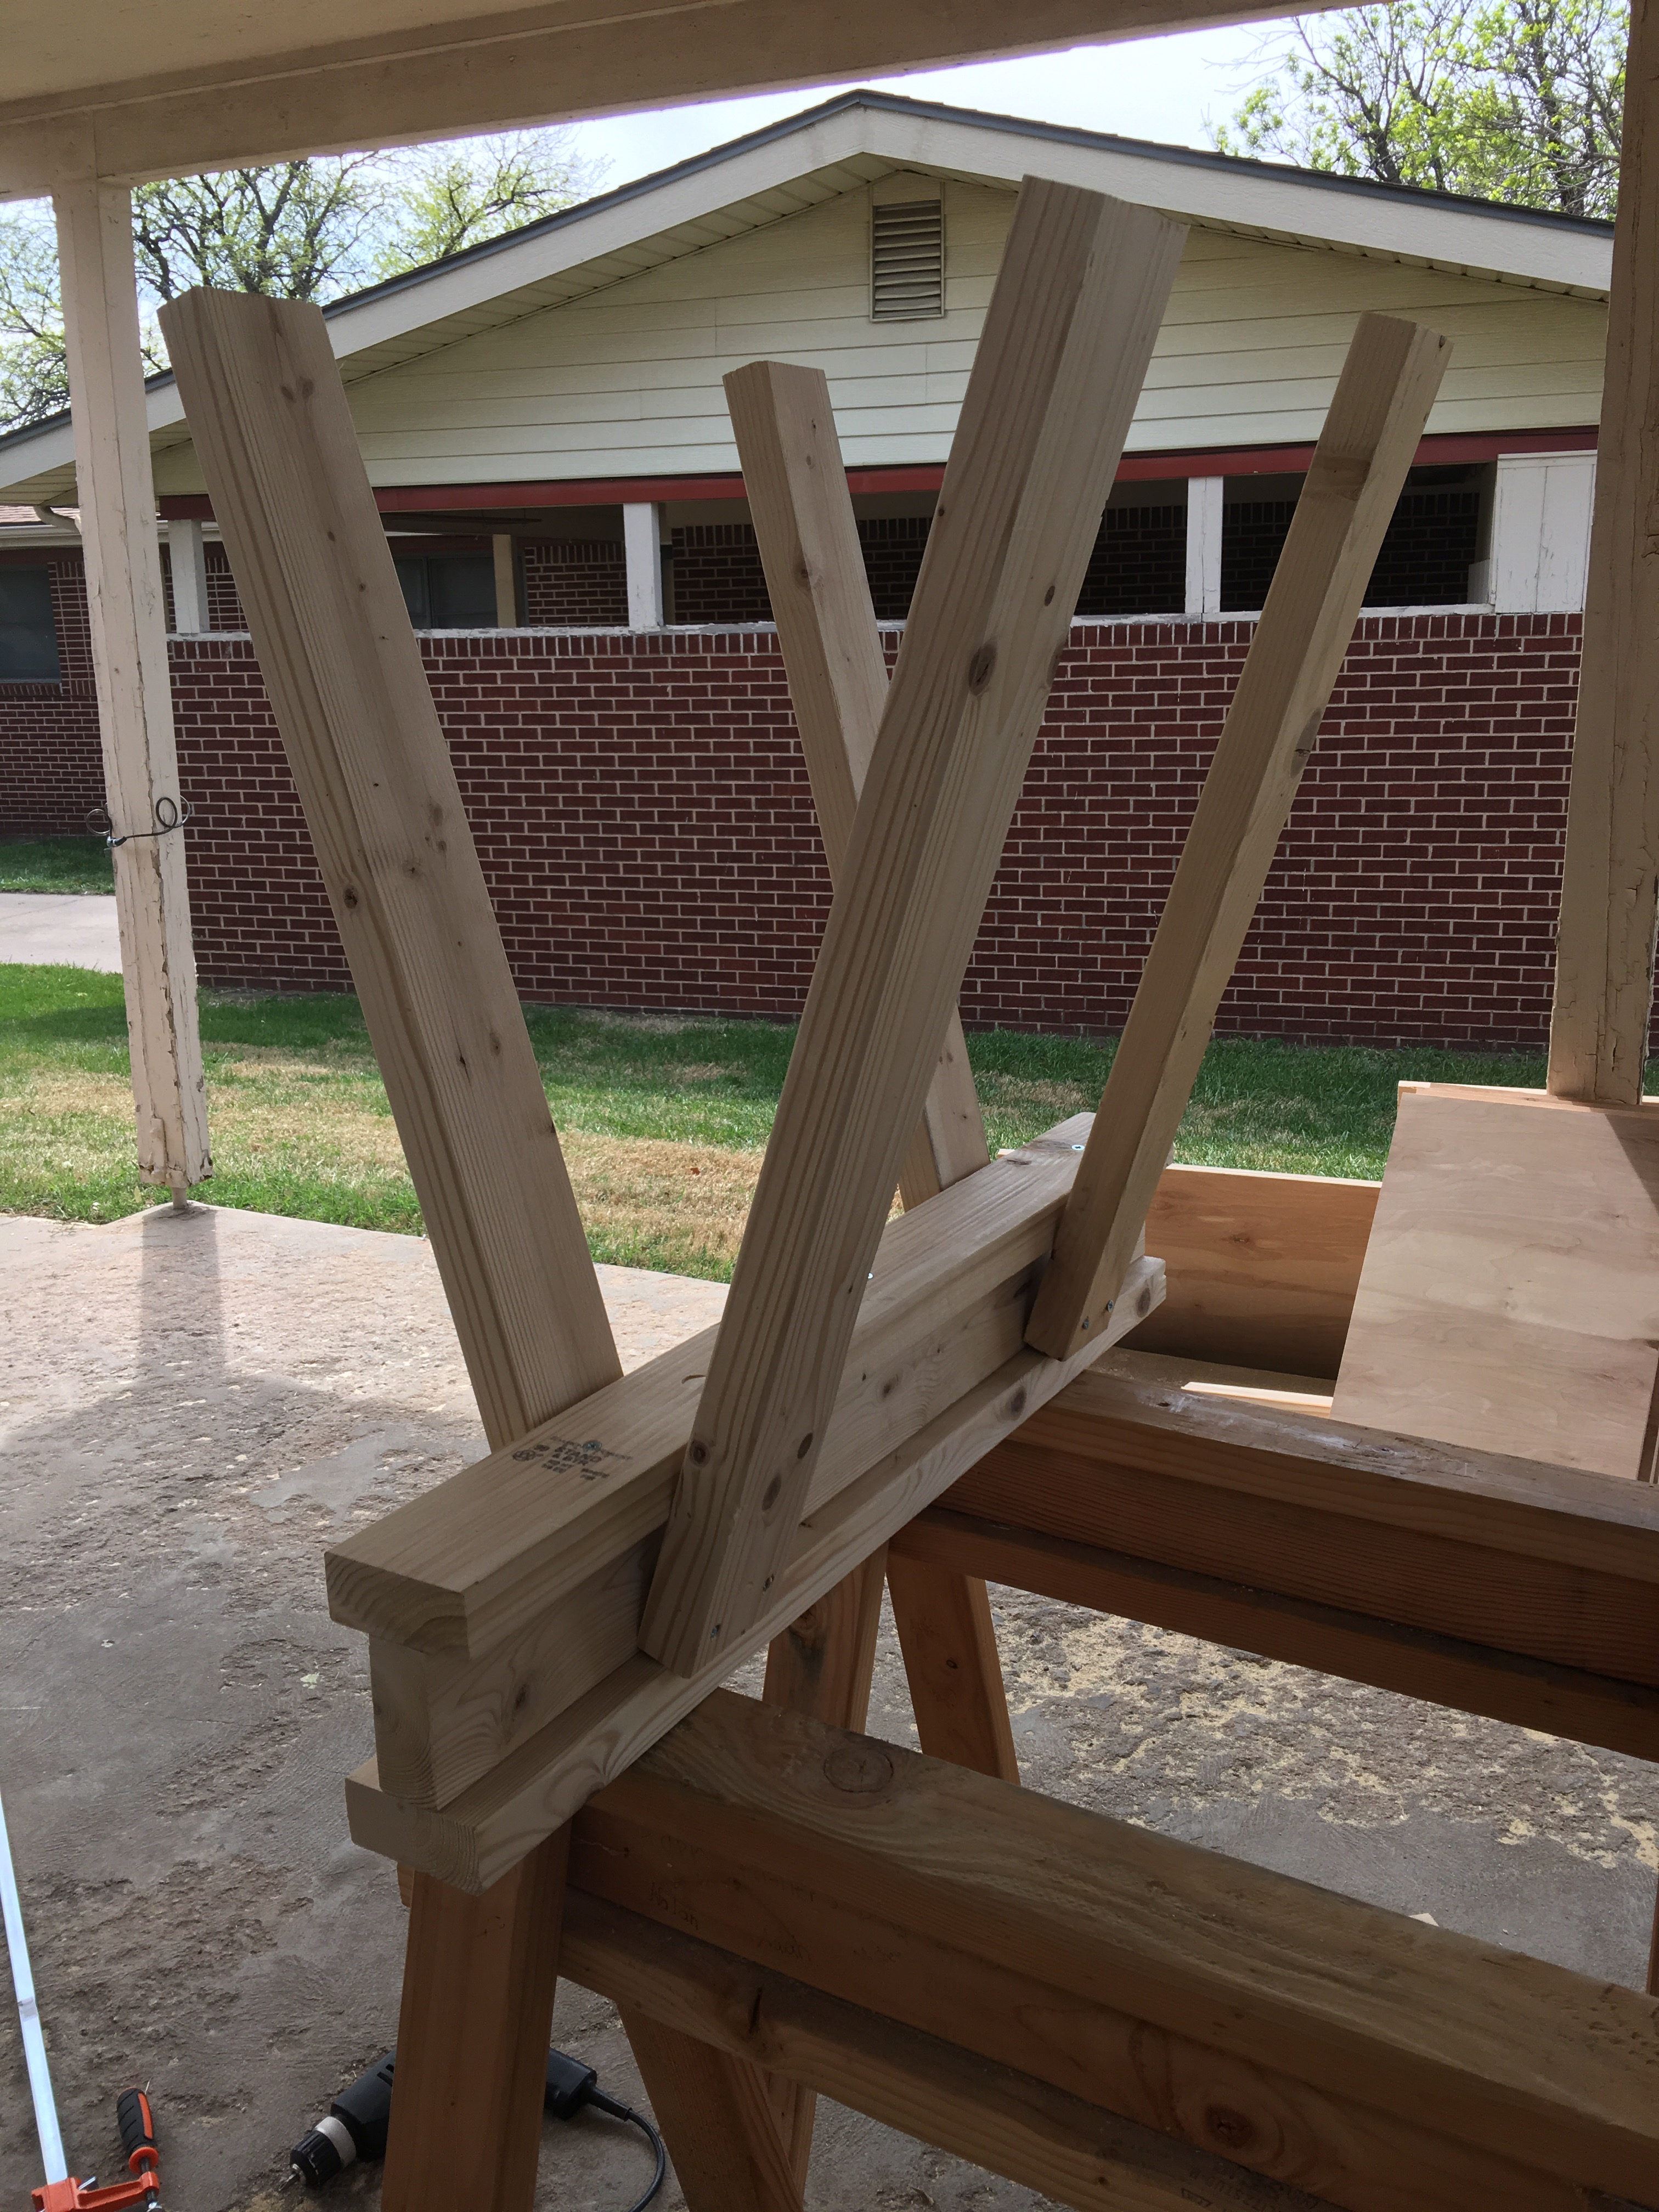
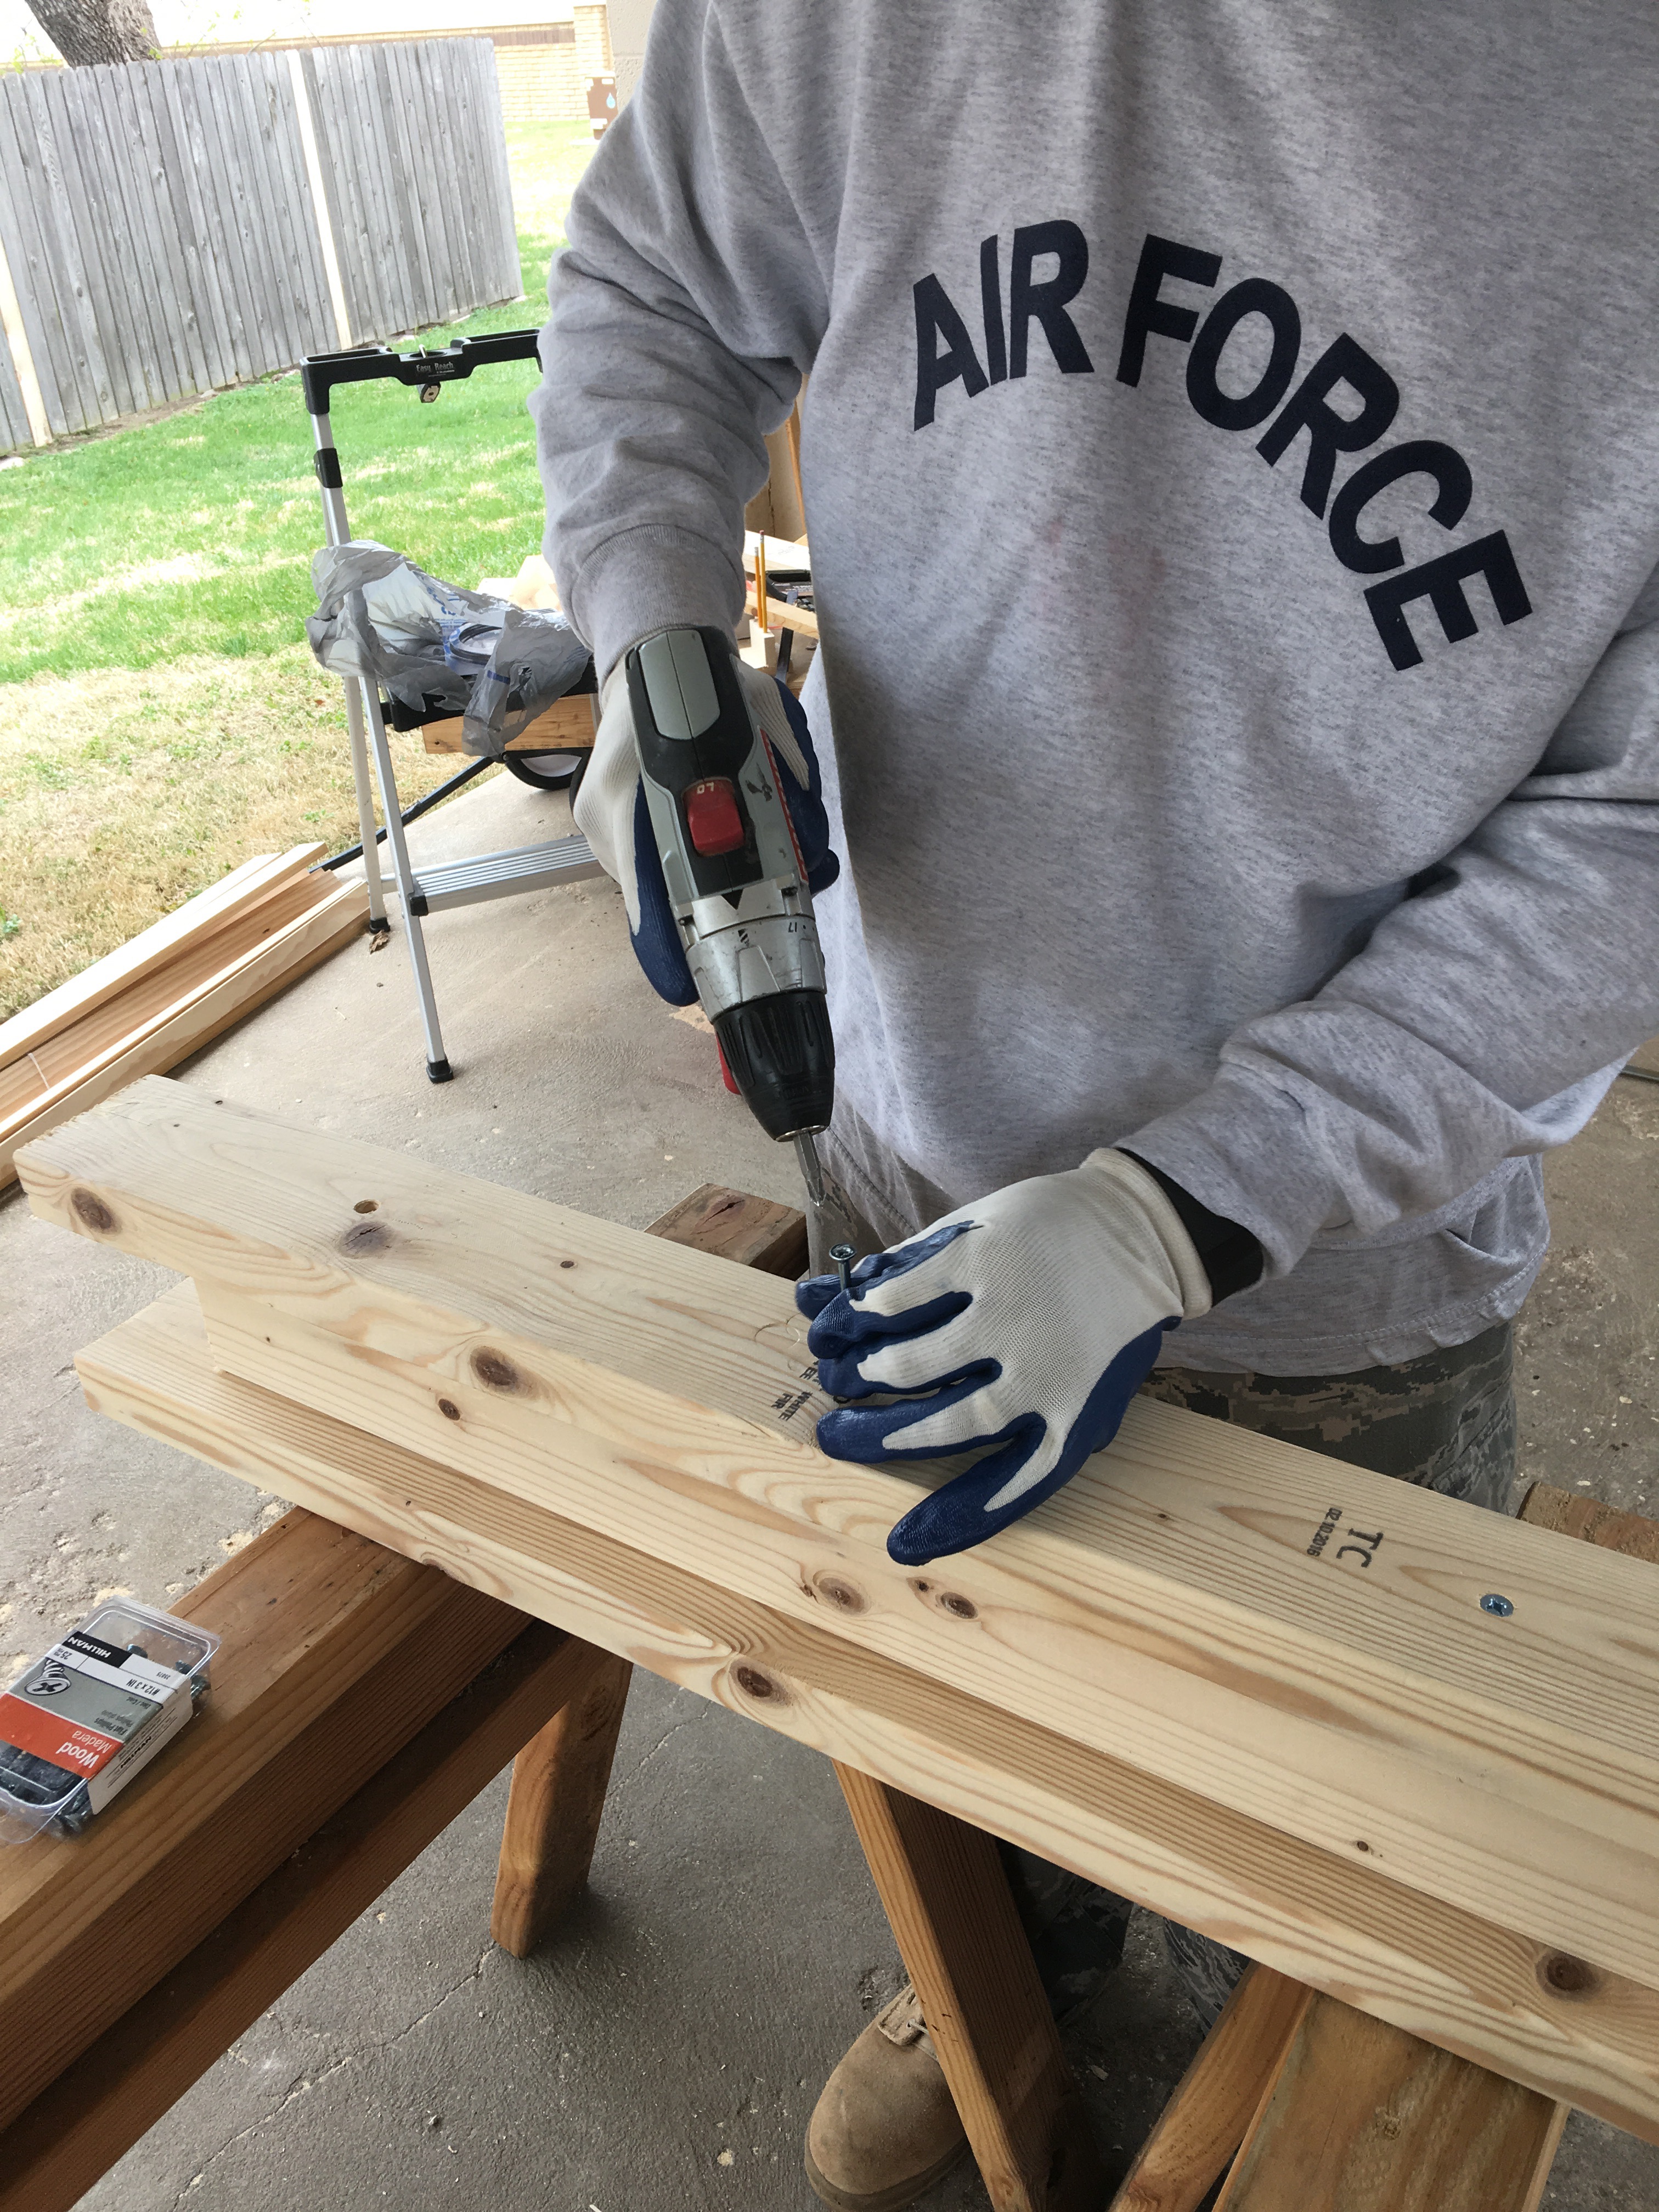
That’s it your done. Flip and repeat to build as many as you need.
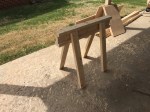

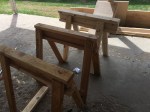
As you can see, I didn’t not use the leg shelves in these, but they are real simple to attach to your saw horse. You can adjust the size as to fit your needs (how high up you want them and how far apart your legs are).
I initially saw this design in a Boy Scout book and planned to make it with my son. My children and my wife however, beat me to it. Here is how the saw horse looks with the shelves from The Family Handyman.

